

To craft a DIY Apple Watch band, start by gathering materials like elastic, small adapters, scissors, pins, and a sewing machine. Measure your wrist, subtract half an inch, and cut the elastic to fit snugly. Fold and sew the ends carefully, securing with topstitching for durability. Attach the elastic to the adapters, then align and reassemble the watch components. With patience, you can create a personalized band—continue exploring to master each step easily and confidently.
Gather the Right Tools and Materials for Your DIY Band
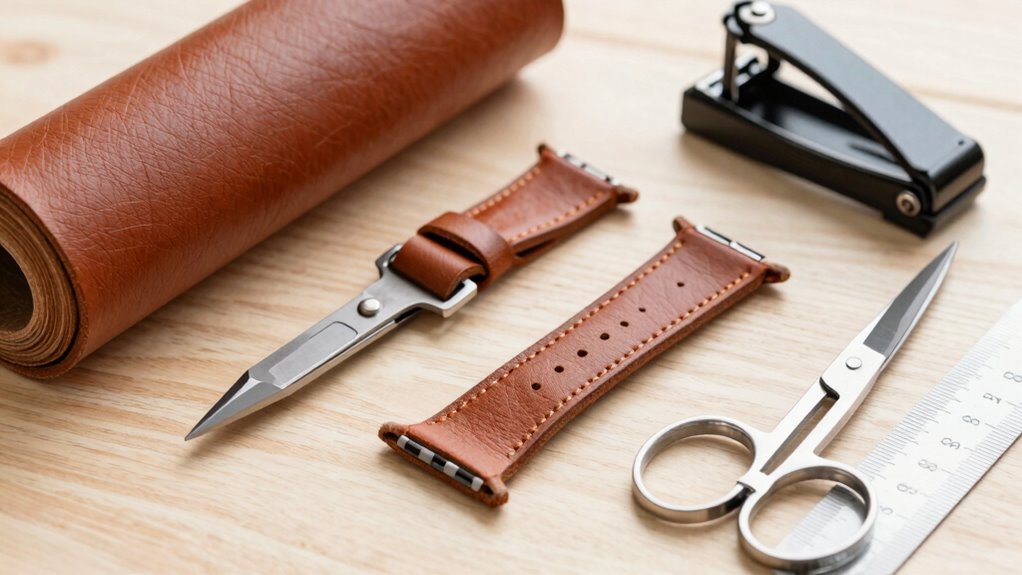
Have you ever wondered what tools are needed to create a custom Apple Watch band at home? To start, you’ll need a few essential items. An elastic band, preferably 3/4 inch to 1 inch wide, provides flexibility and comfort. A sewing machine is key for sewing the elastic securely and creating clean seams. Apple Watch adapters are also necessary to attach your finished band to the watch itself, ensuring a snug fit.
Scissors and straight pins help in preparing and pinning the fabric or elastic in place. Measuring tape is used to get the perfect fit around your wrist. With these tools, you can craft a personalized band that’s both stylish and functional, all from the comfort of your home.
Measure and Cut Your Band for a Perfect Fit
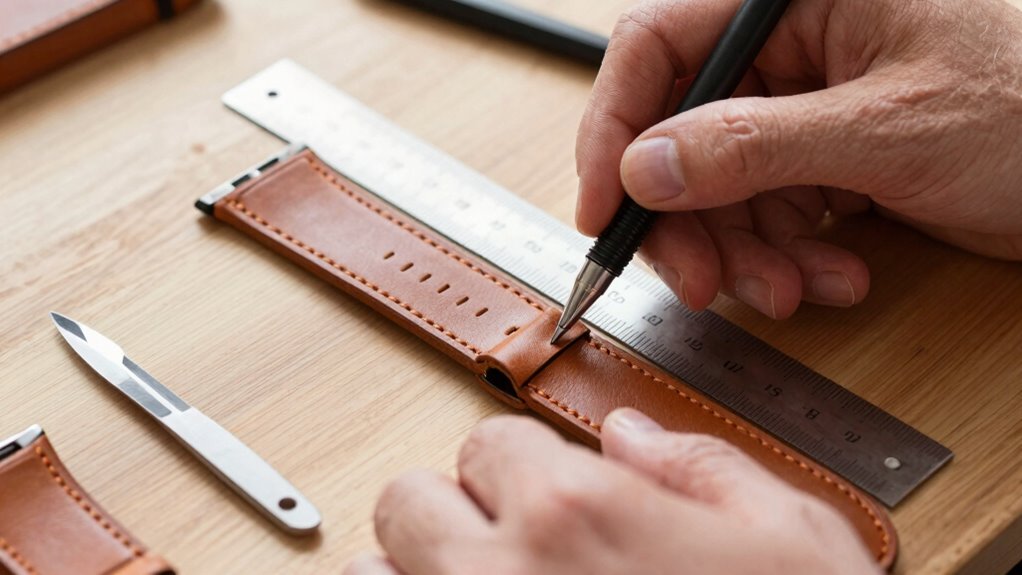
Figuring out the perfect length for a custom Apple Watch band might seem tricky at first, but with a few simple measurements, it becomes straightforward. Start by measuring the wrist measurement, which is the circumference around the wrist where the band will sit. To ensure a comfortable fit, subtract 1/2 inch from this measurement to determine the elastic length.
Mark 5/8 inch from both edges of the elastic and pin the ends to hold them in place. When cutting, make sure to fold the ends at the pin points and fold under 1/4 inch for neat edges. After cutting to the right length, add a touch of topstitching along the folded edges, backstitching at the start and end for durability.
This process guarantees a snug, personalized fit without any fuss.
Prepare and Sew the Elastic Band With Precision
How can one ensure that the elastic band for an Apple Watch fits perfectly and stays secure? The key lies in careful measurement and precise stitching.
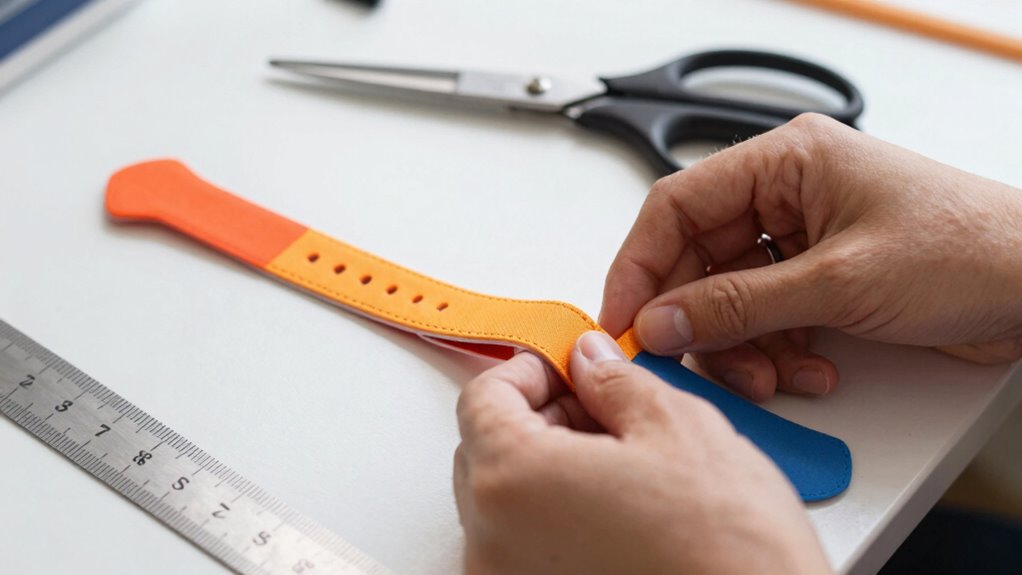
First, measure your wrist at the designated spot, then subtract 1/2 inch to find the ideal elastic length. Mark 5/8 inch from both edges of the elastic and pin these points, which helps keep everything aligned. When folding the ends, fold at the pin point and then under 1/4 inch, preparing for topstitching along the folded edge.
Cutting the elastic to the correct measurement ensures a snug fit. To reinforce the connection, stitch with backstitches at both ends of the seam. This attention to measurement and careful stitching guarantees a comfortable, secure fit that lasts.
Assemble Your Custom Beaded Band Using Adapters
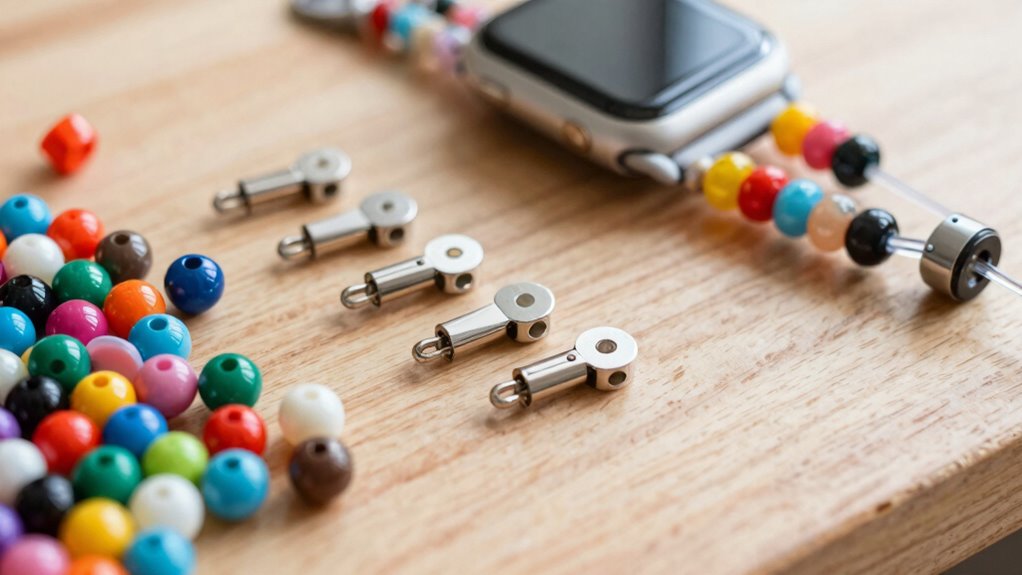
Assembling a custom beaded band with adapters might seem tricky at first glance, but with a little patience, it becomes a straightforward process. First, unscrew the tiny screw on the adapter, then release the arm. Pivot it out to slide the elastic onto the arm, making sure the underside and topside align with the release button and the watch band.
Next, mark 5/8 inch from both elastic ends, pin these points, fold over, and fold under 1/4 inch for stitching. Carefully cut the elastic to fit your wrist, minus half an inch. Attach each elastic end to its adapter, backstitching securely at both ends.
Finally, reassemble the arm with the screw, handle tiny screws carefully, and repeat on the other side.
Attach the Band to Your Apple Watch Correctly
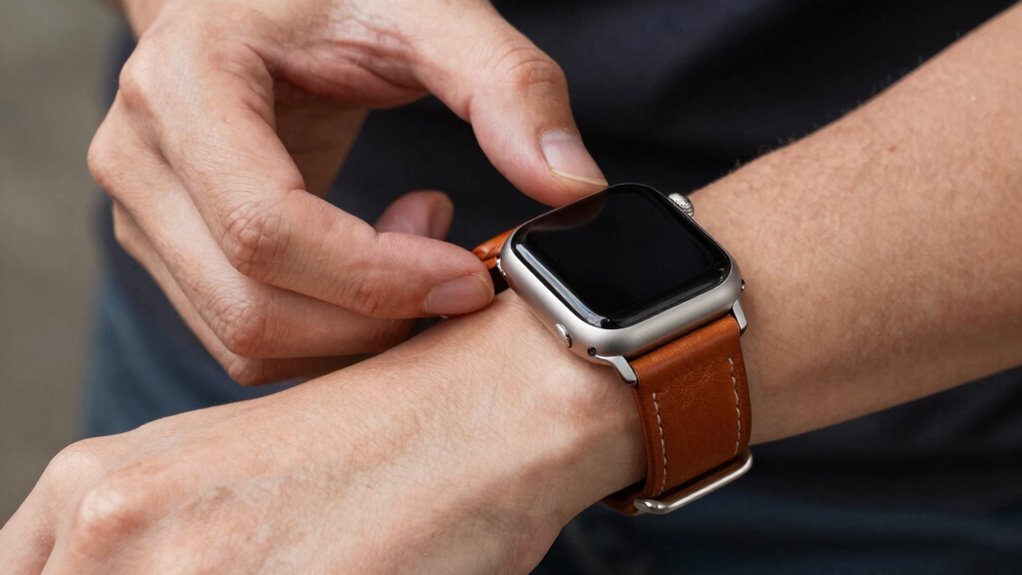
Attaching the band to an Apple Watch might seem like a small step, but doing it correctly makes all the difference in comfort and security. First, ensure the correct orientation by lining up the screw-on underside button with the release mechanism. This keeps the band functioning smoothly.
When working with elastic bands, slide the ends through the connectors first, making sure they fit the case size, whether 38mm or 44mm. Secure the band by backstitching and finishing folds for added strength. Pay attention to the connectors’ orientation—reposition the arm, then carefully screw them back into place, taking care not to drop tiny screws.
Finally, verify the topside versus underside labels to confirm the band is properly aligned for comfortable, secure wear.
Tips for Finishing, Adjusting, and Troubleshooting Your DIY Band
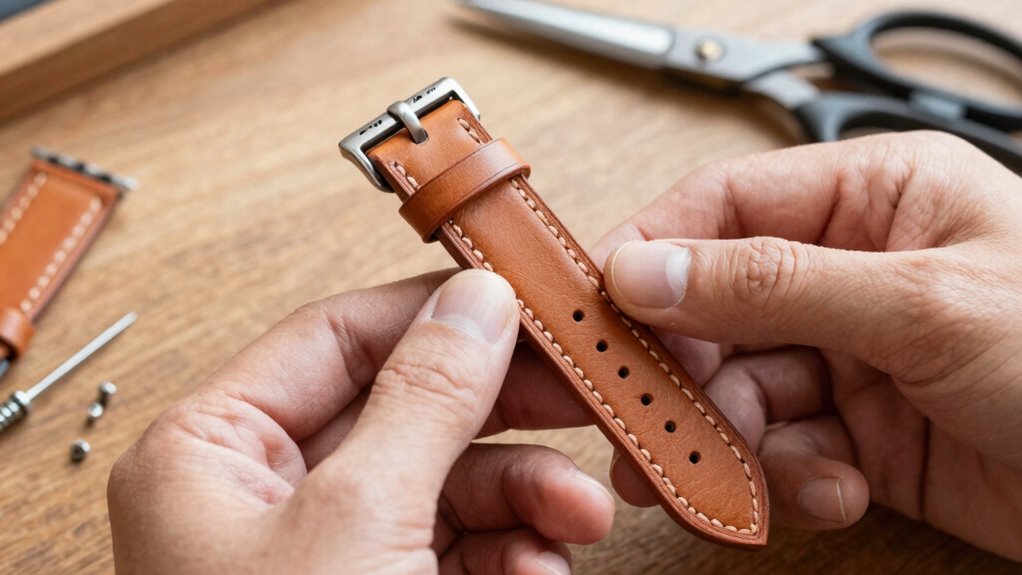
Ever wondered how to make certain your DIY Apple Watch band fits just right and stays secure? The key lies in proper finishing and careful adjustment. When working with elastic, measure your wrist minus half an inch before cutting to ensure a comfortable fit. Fold the ends at the pin point and under a quarter inch before topstitching for a clean look. To prevent fraying, backstitch at both ends of each seam, reinforcing the band’s durability.
Mark five-eighths of an inch from each edge with straight pins before folding and sewing along the fold for a professional finish. Always double-check the orientation—make sure the elastic sits correctly and that the release button aligns properly with the connector. These tips will help you create a secure, comfortable, and well-finished DIY Apple Watch band.