
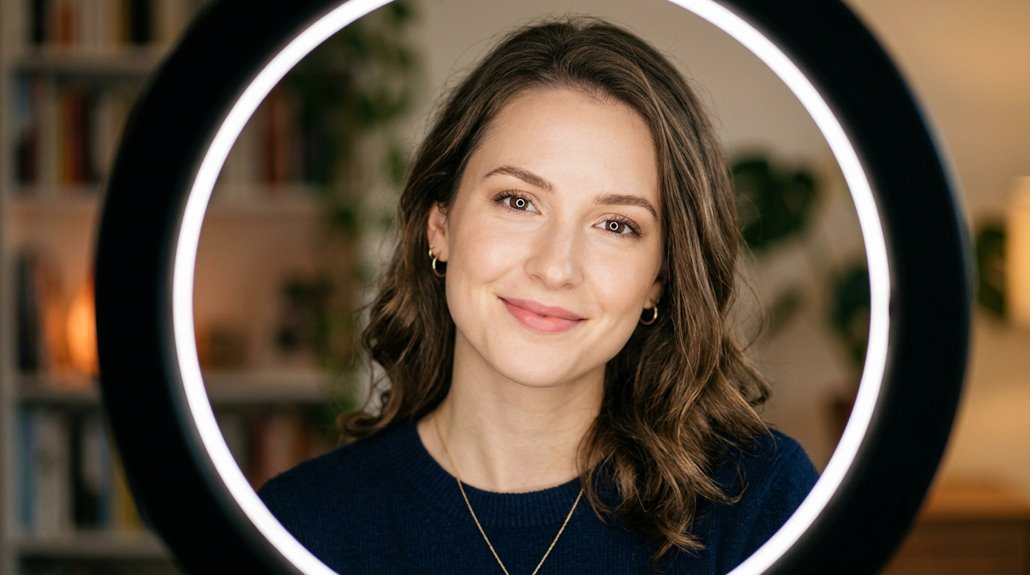
To capture flattering ring light photos every time, it’s important to set up the light correctly. Position the ring slightly above eye level and tilt downward to soften shadows and highlight facial features naturally. Keep the light about 2–4 feet from the subject for even, gentle illumination. Adjust brightness and color temperature for a natural glow, and consider adding a reflector or background to enhance the shot. Fine-tuning these details ensures consistently stunning photos—exploring more tips will help perfect your technique.
Understand Why Proper Lighting Matters for Flattering Photos
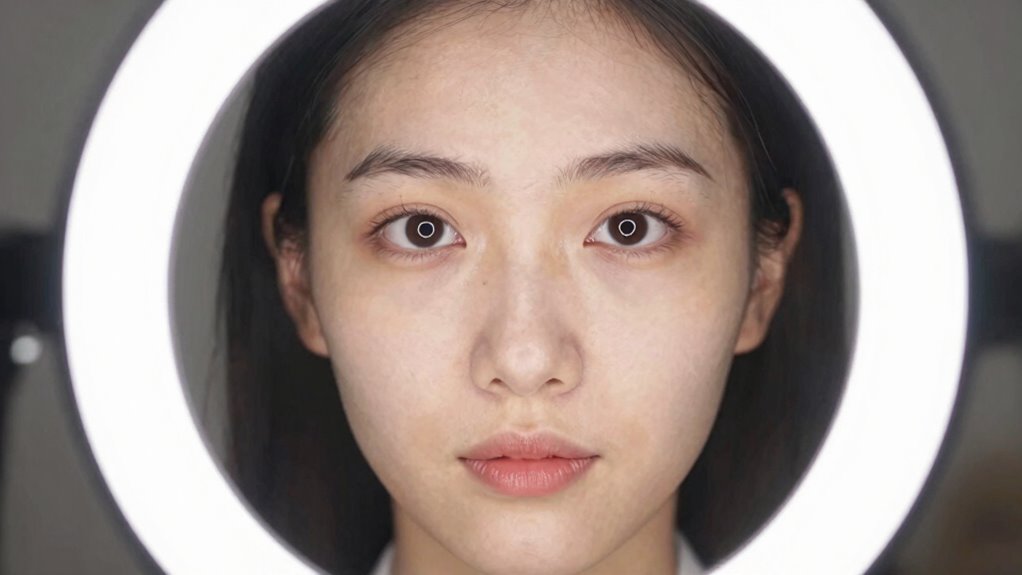
Have you ever wondered why some photos look effortlessly flattering while others fall flat? In ring light photography, proper lighting makes a huge difference. Flattering lighting reduces harsh shadows and creates a smooth, even glow that enhances skin tones. The circular design of a ring light surrounds the subject, producing soft catchlights in the eyes and giving skin a youthful, hydrated look. Adjusting brightness and color temperature helps match ambient light, preventing tones from turning orange or blue.
Using diffusion, like translucent fabrics or diffusers, softens the light further, reducing glare and shine. Positioning the ring light slightly above eye level and angling it down adds natural depth and contour, making features pop without harshness. Overall, good lighting is essential for capturing beautiful, flattering photos.
Set Up Your Ring Light for Optimal Results
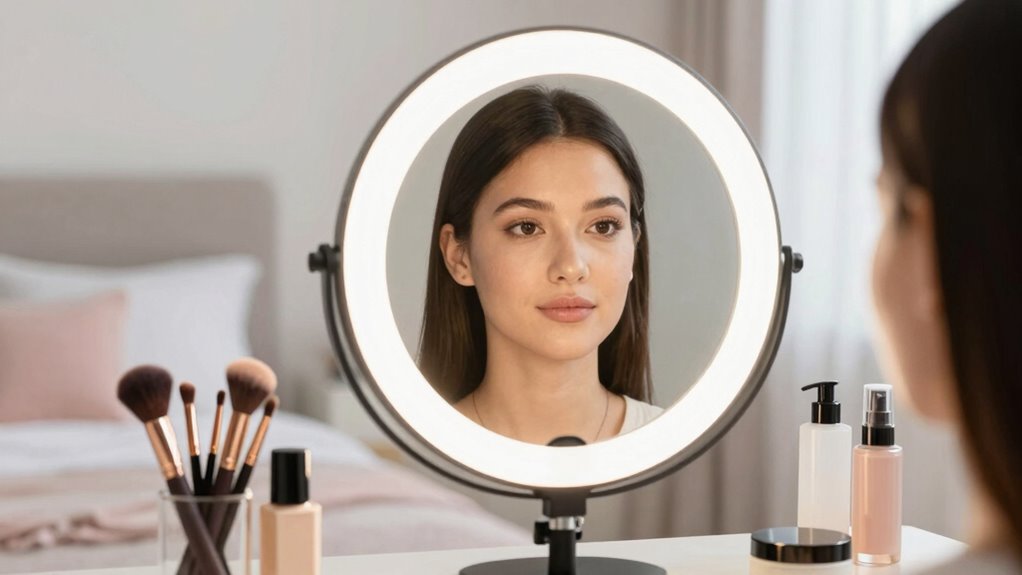
Set up your ring light properly, and it can make a big difference in how flattering the photos turn out.
The key is in ring light placement—position it slightly above eye level and angle it downward. This reduces glare and adds natural depth to the shot.
For softer shadows and a more even glow, place the light about 2–4 feet from the subject, adjusting the distance before increasing brightness. Using a diffuser or shoot-through umbrella helps soften the light, reducing harsh highlights that can be unflattering. Lock the exposure and white balance in your camera or app to keep the colors consistent across shots.
To make setup easier, mark the ring light’s height and distance, and save your preferred brightness and color temperature for quick, repeatable results.
Recommended Products
NEEWER 18 Inch Foldable Photography Video Light Diffuser for 18" Ring Light
Check each seller's condition and delivery.
NEEWER 71"/180cm Parabolic Reflective Umbrella Photography w White Inner
Check each seller's condition and delivery.
Choose the Right Ring Light Size and Type for Your Needs
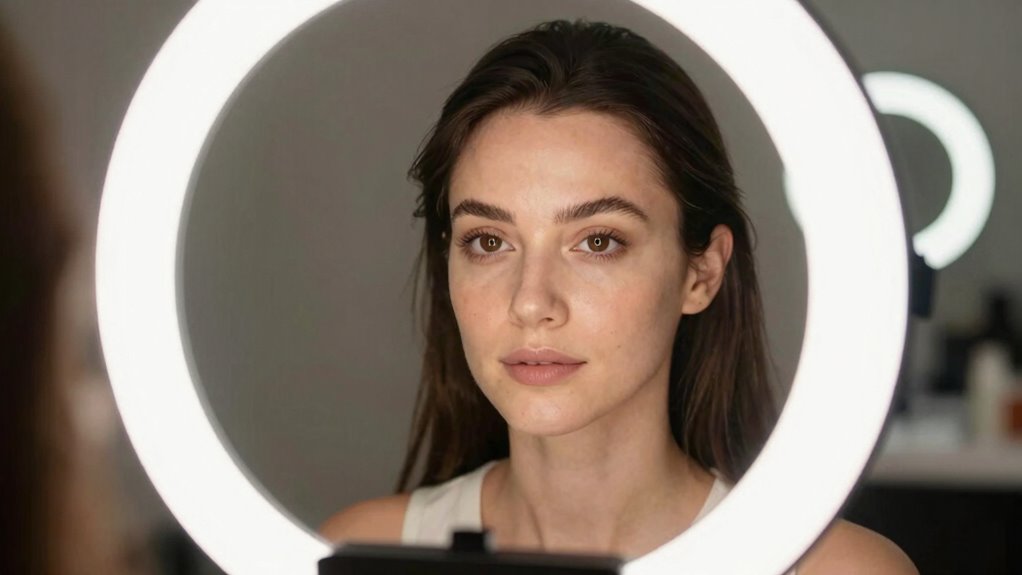
Choosing the right ring light size and type depends largely on what kind of photos or videos are being created, as well as the space available. For example, larger ring lights, like 18 inches, produce softer light and broader coverage, making them ideal for full-face shots or multi-angled videos. Smaller rings, around 10–12 inches, are perfect for desk setups and close-up work.
On-camera ring lights sit near the lens and are great for macro or quick videos, while off-camera lights stand on a stand for more flexible positioning. The CRI, or color rendering index, is also important. Higher CRI, around 97, offers more accurate, natural colors, especially essential for portraits and product photos.
Matching the ring light size and type to your space and needs helps create flattering, professional results.
Recommended Products
NEEWER 18 Inch RGB LED Ring Light APP Control with Tripod Stand and Phone HolderCompatible with iPhone for Selfie Makeup Lash Studio Streaming Video Recording Lighting
Check each seller's condition and delivery.
Hagibis 21 inch Ring Light with Stand Outer 55W 5600k Dimmable LED Light
Check each seller's condition and delivery.
NEEWER RL-18 Ring Light 18inch Kit: 55W 5600K Professional LED with Stand
Check each seller's condition and delivery.
Position Your Ring Light to Enhance Facial Features
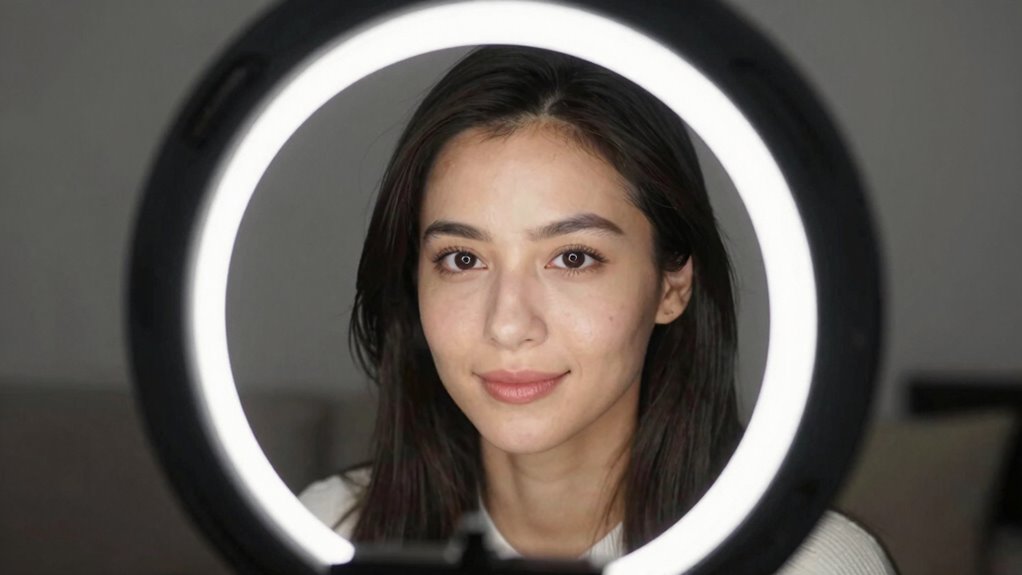
Positioning the ring light correctly can make a big difference in how a person’s features appear on camera. The key lies in thoughtful ring light placement to achieve flattering lighting that highlights facial contours. Placing the light slightly above eye level and angling it downward helps minimize glare while creating gentle shadows across the cheekbones, adding depth and dimension.
Instead of placing it directly in front, tilting the light downward introduces subtle shadows that define the face without flattening features. Slightly offsetting the ring light to the left or right adds natural-looking shadows, enhancing facial contours without overdoing contrast. For talking-head shots, keeping the subject about 2–4 feet from the light balances brightness and prevents shiny skin.
Centering the ring light with the camera ensures even illumination while maintaining flexibility as lighting conditions change.
Recommended Products
UBeesize 12" LED Ring Light with 62" Tripod Stand
Check each seller's condition and delivery.
Weilisi 10" Ring Light with Stand 72'' Tall & Phone Holder
Check each seller's condition and delivery.
UBeesize 10" Selfie Ring Light with Tripod Stand & Phone Holder
Check each seller's condition and delivery.
Adjust Brightness and Color Temperature for a Natural Look
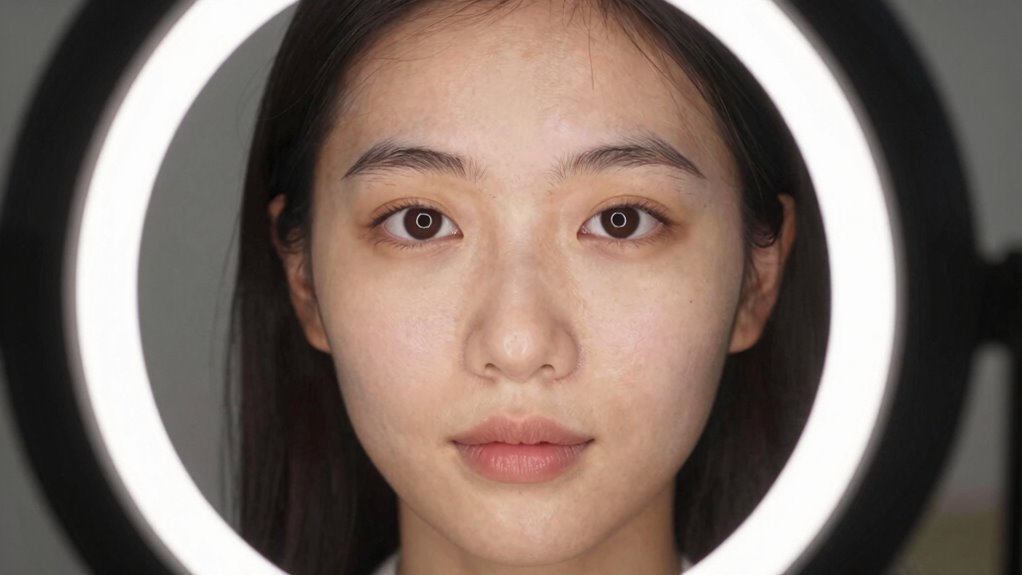
Have you ever wondered why some photos look vibrant and natural while others seem off? The secret often lies in adjusting the ring light’s brightness and color temperature. Too much brightness can wash out skin tones, so it’s best to use the lowest level that still clearly shows details and softens shadows. Matching the color temperature to the ambient light helps skin look healthy—warm tones suit cozy indoor settings, while cooler tones mimic daylight for a natural glow. Locking white balance or exposure, if possible, ensures consistent skin tones across shots.
If highlights appear shiny or skin looks oddly colored, slightly reduce the brightness and tweak the color temperature to match the room’s lighting. Before recording full videos, a quick 10-second test clip can verify that the skin looks natural and glare is minimized.
Find the Best Angle and Distance for Your Face
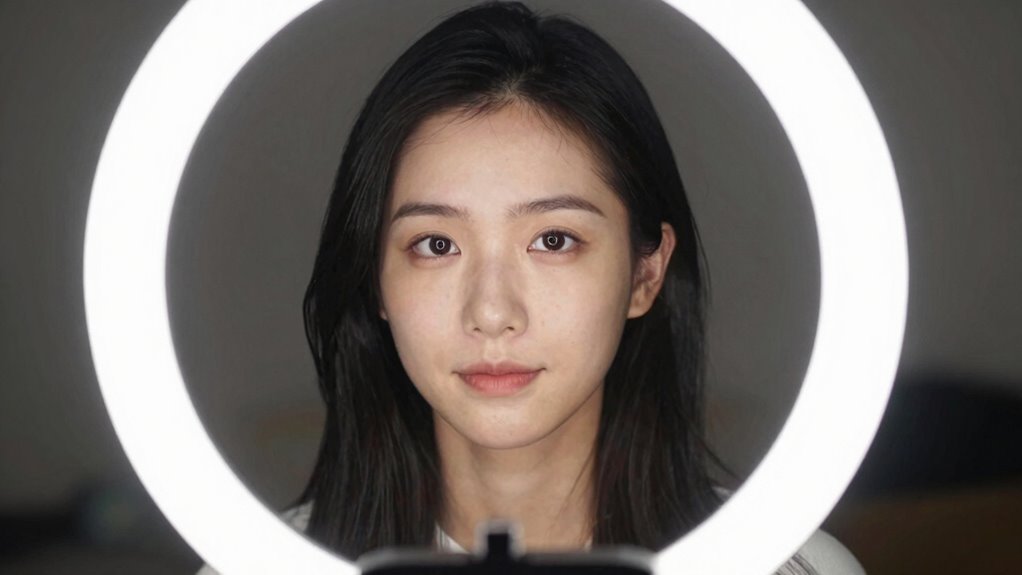
Ever wondered how to make your face look its best in ring light photos? The key lies in finding the right ring light angle and distance from your face.
- Keep the ring light slightly above eye level, angled downward, to reduce glare and create natural shadows that define your facial features.
- Start with a distance of about 2–4 feet from your face; closer for a softer focus, farther for more depth.
- Center the ring light with the camera for even facial illumination, then shift it slightly off-center if your face looks flat to add dimension.
- Use a diffuser or shoot-through umbrella to soften reflections, ensuring your facial illumination appears smooth and flattering.
Adjusting these elements helps highlight your best features effortlessly.
Use Complementary Backgrounds and Surfaces to Boost Flattery
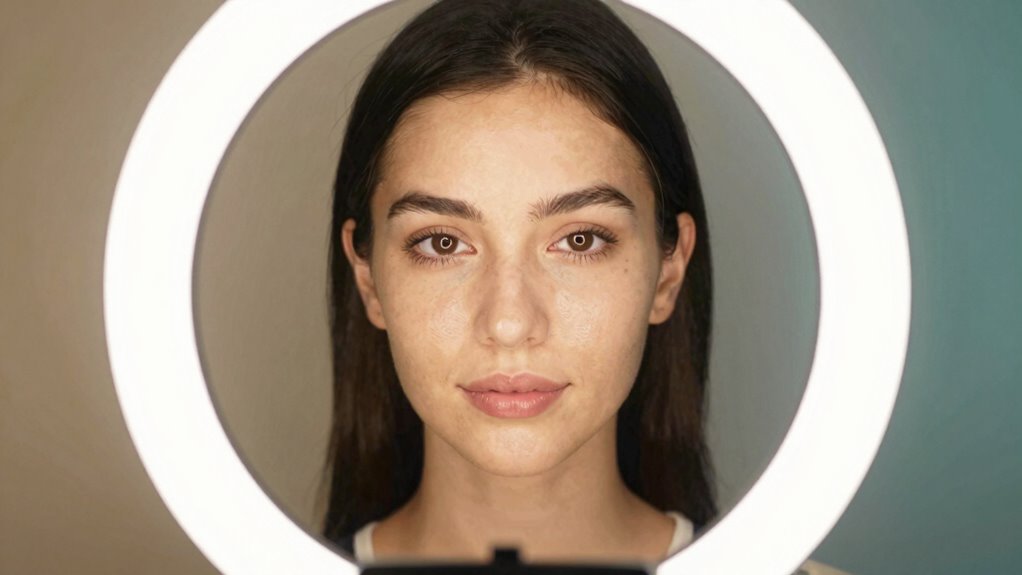
What makes a background or surface work hand-in-hand with a ring light to enhance your photos? Complementary backgrounds, like a blue sheet, create a clean, cool backdrop that makes subjects pop without distractions.
Using a light-colored surface beneath the subject helps reflect the diffusion from the ring light, boosting skin tones and softening shadows.
Positioning the ring light slightly above eye level and angled downward minimizes glare, while a diffusion diffuser or shoot-through umbrella softens reflections, resulting in a gentle, even glow.
For product shots, placing the ring light just above and in front of the item with a neutral background preserves true colors and eliminates harsh hotspots.
This combination ensures your photos look flattering and professional, emphasizing natural beauty with subtle, effective lighting choices.
Incorporate Additional Lighting or Reflectors for Depth
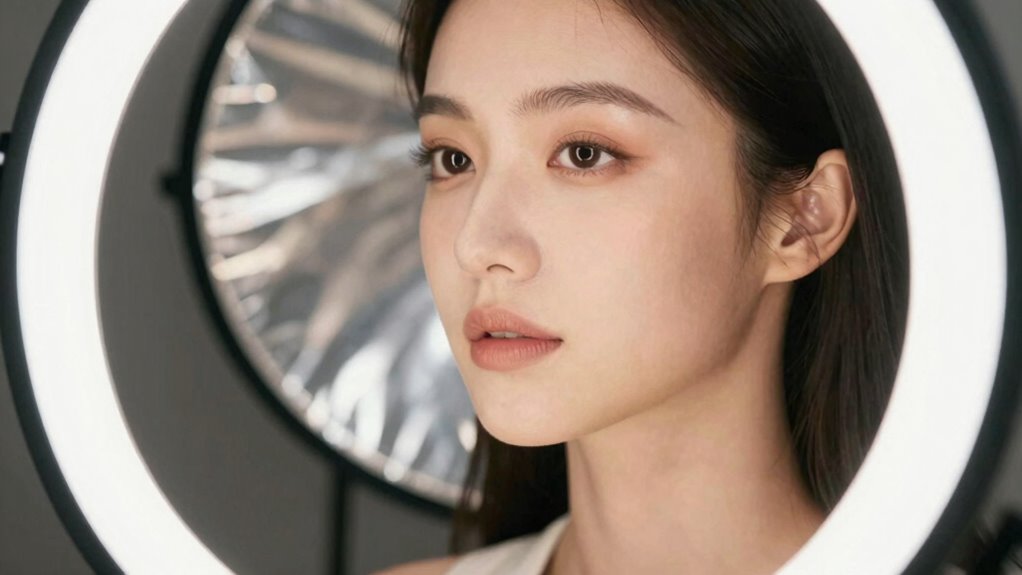
Why stop at just a ring light when adding more lighting or reflectors can dramatically improve your photos? Incorporating extra light sources or reflectors helps create depth, making images look more natural and engaging. Here are some ways to enhance your setup:
- Use a diffuser or shoot-through umbrella with your ring light to soften shadows and add dimension.
- Place a reflector, like white foam core or a tri-fold poster board, opposite the subject to bounce fill light back in.
- Position the ring light slightly above eye level and angle it down, then adjust the reflector for gentle, natural shadows.
- Combine the ring light with a secondary, lower-intensity light source to avoid flatness and preserve color accuracy.
These tips add depth, making every shot more flattering and lively.
Test and Refine Your Setup Before Shooting
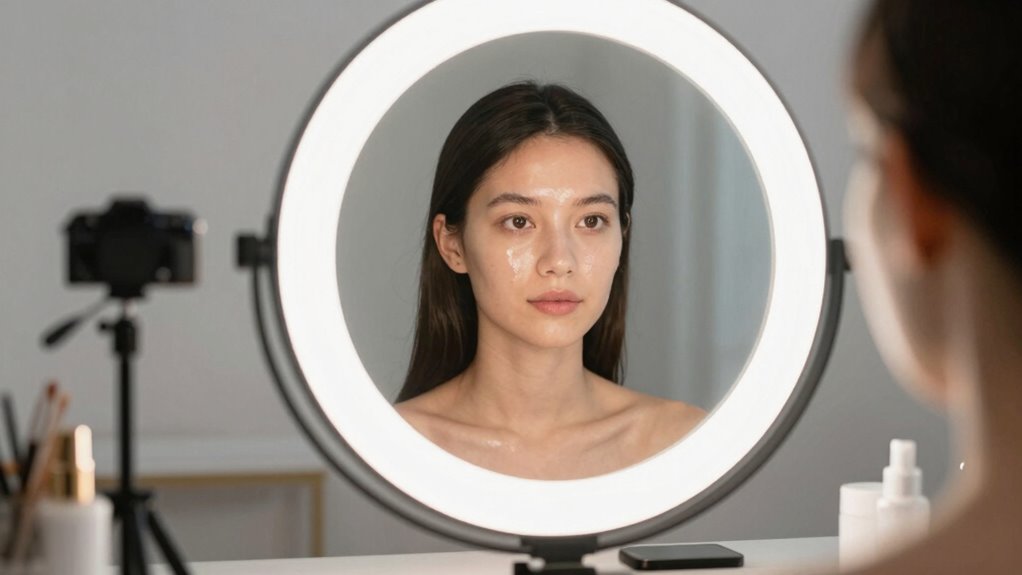
Before starting a photoshoot, it’s helpful to test and refine the lighting setup to ensure everything looks just right. Proper testing ensures the ring light setup creates natural lighting depth and minimizes glare. A quick 10-second test clip helps spot issues with shininess, glare, or color problems, so adjustments can be made easily.
Marking and saving your repeatable setup details—such as distance, height, brightness, and color temperature—makes future shoots smoother.
| Aspect | Tip |
|---|---|
| Distance | Start with 2–4 feet from the subject |
| Height | Position slightly above eye level, angled down |
| Brightness | Adjust for soft, even lighting |
| Color Temperature | Set for natural skin tones |
| Shadows | Fine-tune tilt to add gentle lighting depth |
Refining your setup helps achieve flattering photos every time.
Troubleshoot Common Ring Light Photography Issues
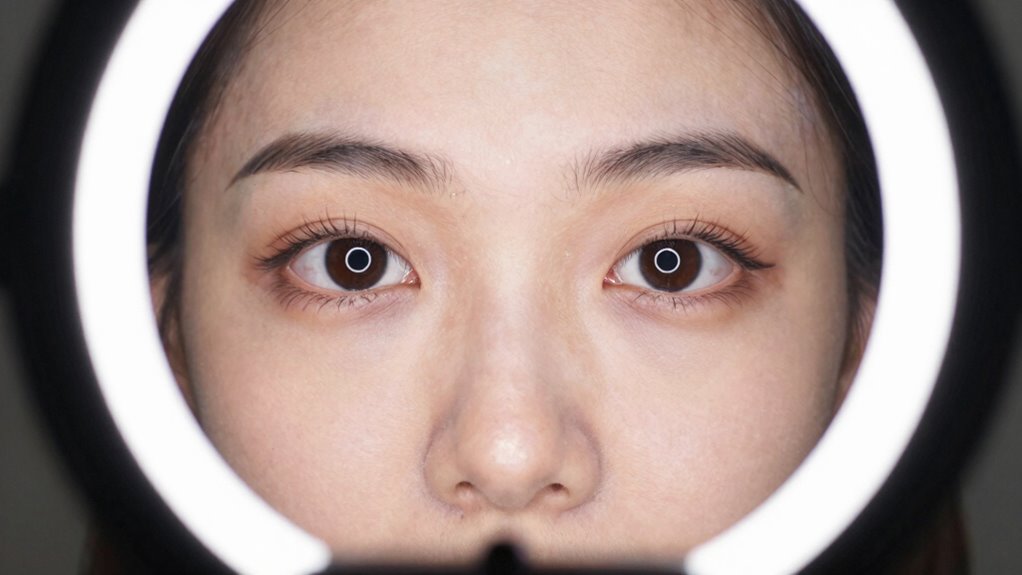
Have you ever noticed that your photos look a bit flat or harsh despite using a ring light? This common issue can often be fixed with simple adjustments to your ring light setup and lighting troubleshooting.
- Tilt the ring light slightly downward from above eye level to reduce glare and add depth.
- If faces appear flat, shift the light a few inches left or right to create gentle shadows and define features.
- Adjust your distance from the subject—2 to 4 feet works well—altering the distance for softer shadows or more spread.
- Lock your camera exposure and white balance to keep colors consistent, preventing harsh highlights or dull tones.
Small tweaks in light positioning and camera settings can make a big difference. Ensuring your photos look natural and flattering is achievable with these simple adjustments.