

To install DIY vanity lights for a salon-quality glow, start by turning off the power at the breaker for safety. Measure the space around the mirror to plan the placement of 2–3 fixtures in a straight line for even lighting, using fixtures with a warm white color temperature for a flattering look. Follow the installation manual carefully, wiring the black to live, white to neutral, and grounding as needed. With the right tools and a step-by-step process, a professional finish is achievable—continue to learn how to perfect every detail.
Understanding the Benefits of Installing DIY Vanity Lights

Have you ever wondered how a simple change can transform the look and feel of a bathroom? Installing DIY vanity lights can do just that by enhancing brightness and making the space appear larger. These updates are especially helpful during a bathroom remodel, giving the room a fresh, modern look without breaking the bank.
Choosing the right vanity lighting, like Hepburn 3-light or Donelson 5-light fixtures, can add style and function. However, safety steps are essential. Turning off power at the breaker and following the fixture’s installation manual are vital. If unsure about electrical work, consulting a licensed electrician is wise. Proper installation ensures the lights are secure, bulbs are correctly placed, and the overall glow mimics a salon-quality finish, making your bathroom both beautiful and safe.
Planning Your Bathroom Vanity Lighting Layout for a Salon-Quality Glow

Planning the layout for bathroom vanity lighting might seem straightforward, but it’s actually an essential step in creating that perfect, salon-quality glow. A well-designed vanity lighting layout ensures even, flattering illumination across the face and mirrors. Key considerations include measuring the space around the mirror to determine appropriate height and width, aiming for light distribution that reduces shadows.
Typically, 2–3 fixtures arranged in a straight line or a single fixture with multiple bulbs work best for salon-style illumination. Choosing fixtures with a color temperature around 3000–4000K helps produce a natural, flattering glow. To get it right, consider these points:
- Proper placement for balanced face lighting
- Fixture arrangement for even coverage
- Color temperature selection for natural light
- Drafting a detailed materials list for a smooth install
Recommended Products
SineRise 3-Light Bronze Vanity Light with 3 Color Modes (3000K/4000K/6000K)
Check each seller's condition and delivery.
L LOHAS LED Bathroom Vanity Light Over Mirror 5CCT Remote Control
Check each seller's condition and delivery.
SineRise LED Modern Bathroom Vanity Light Bar (24-Inch
Check each seller's condition and delivery.
Choosing the Right Materials and Tools for Your Vanity Light Project
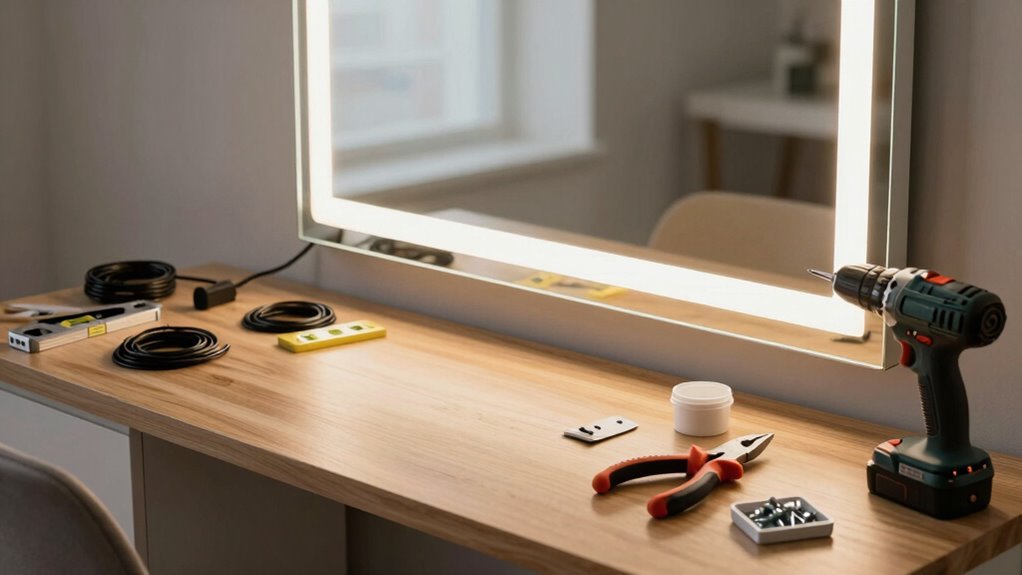
Choosing the right materials and tools is a key step in ensuring your vanity lighting project goes smoothly and looks professional. Selecting the right vanity lighting materials, such as fixtures with metal finishes like brushed nickel or matte black, helps match your bathroom’s style. It’s also important to pick bulbs with a warm white color temperature, around 2700–3000K, for that salon-quality glow.
Gathering the proper installation tools—like a voltage tester, wire strippers, screwdrivers, pliers, a level, and wall anchors—is essential for a safe, accurate setup. Deciding between hardwired or plug-in fixtures early on will influence your tool needs. Always check that fixtures have proper grounding and come with clear installation manuals.
These thoughtful choices make the installation process both easier and more successful.
Recommended Products
FonmYim Brushed Nickel Bathroom Light Fixtures Vanity Lights over mirror
Check each seller's condition and delivery.
Safety Tips Before Starting Your Vanity Light Installation
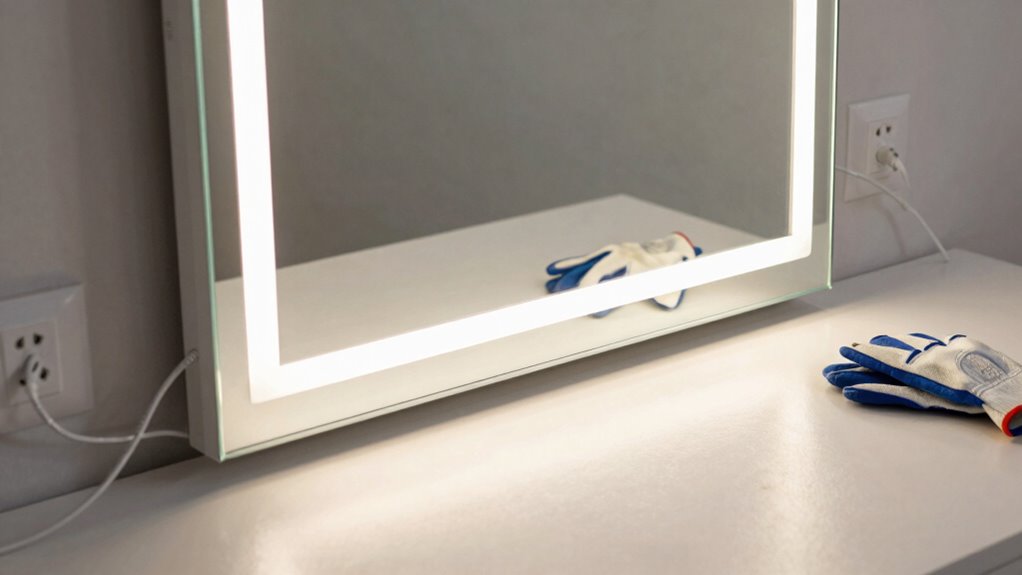
Did you know that many accidents during lighting projects can be prevented simply by taking a few safety precautions first?
Before starting your vanity light installation, prioritize electrical safety and always turn off the power at the circuit breaker.
This prevents shocks and ensures safe wiring.
Remember to consult the installation manual for model-specific wiring color codes, which can vary.
If you’re unsure about wiring precautions or if there’s no grounding wire, hiring a certified electrician is a smart move to avoid hazards.
Additionally, verify local building codes and secure any needed permits.
Gather all your tools, including gloves, eye protection, and a voltage tester.
These simple steps create a safer environment, making your project safer and more enjoyable.
Step-by-Step Guide to Removing Old Vanity Lights Safely
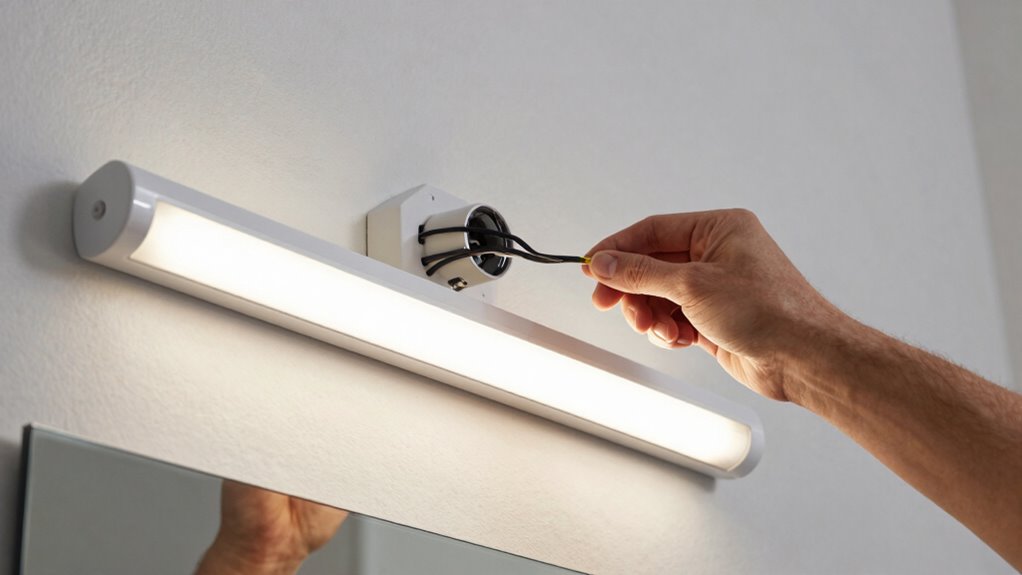
Removing an old vanity light might seem straightforward, but safety should always come first. Before starting vanity light installation, turn off the power at the circuit breaker, then switch off the wall switch to avoid any surprises.
Support the fixture with one hand while carefully removing it from the wall, taking care of wiring connections. Gently detach the wires from the old fixture, making sure not to pull too hard and damage anything behind the wall. If needed, use a screwdriver to remove the mounting bracket.
How to Assemble and Mount Your New Vanity Light Fixtures
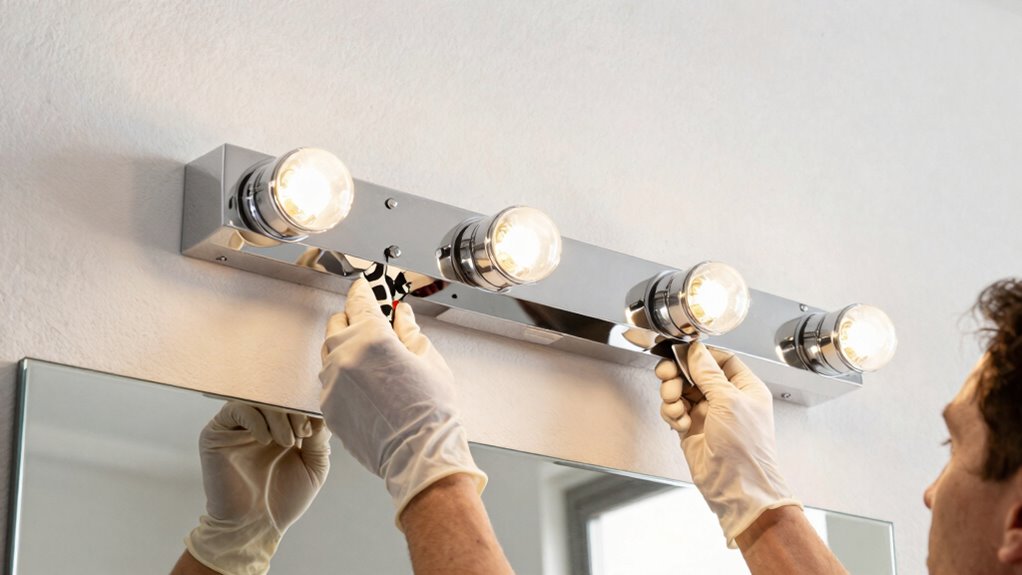
Ever wonder how to get your new vanity light fixture securely in place and looking perfect? The key steps in vanity light installation involve attaching the mounting bracket, wiring, and the fixture itself.
First, remove the old light and align the new mounting bracket with wall studs or the existing box. Secure the bracket with screws, making sure it’s level.
Then, connect the wiring: black to live, white to grounded, and green or copper to the ground screw.
During wiring, a helper can hold the fixture steady. Tuck the wires into the junction box, loop the ground wire around the grounding screw, and attach the backplate with decorative caps.
To finish, install bulbs and secure any glass shades, following the fixture’s manual.
Recommended Products
2 Pack Universal Light Fixture Mounting Bracket
Check each seller's condition and delivery.
Teemyaa 4 inch Light Fixture Mounting Bracket 2 Pack
Check each seller's condition and delivery.
ZOWZEA 4" Ceiling Light Fixture Mounting Bracket Kit
Check each seller's condition and delivery.
Wiring Tips for a Professional-Looking, Safe Installation
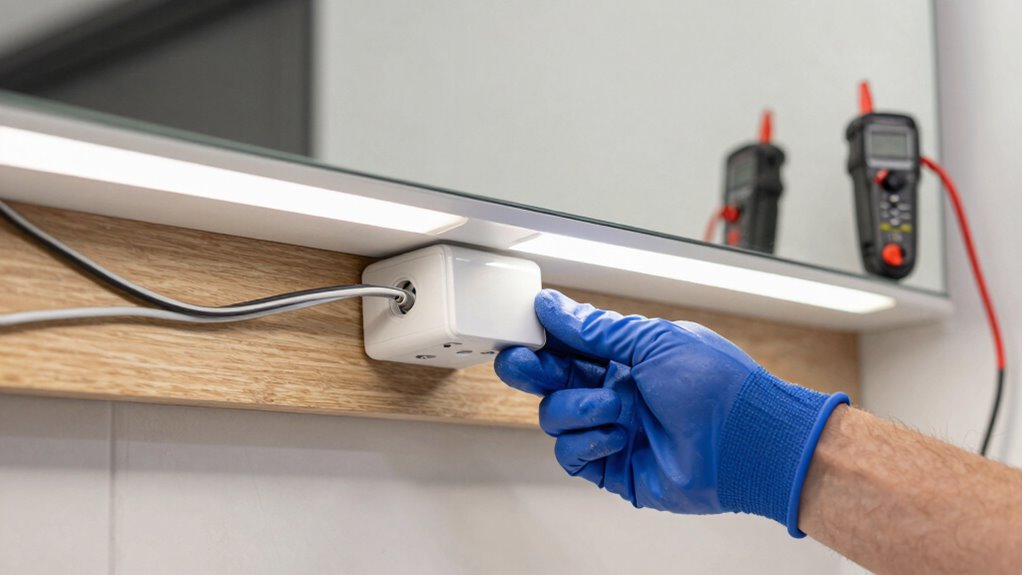
Wiring a vanity light fixture might seem a bit intimidating at first, but with careful attention to detail, it can become a straightforward part of your DIY project. Safety is key, so always turn off the wall switch and power at the circuit breaker, then verify no power with a tester.
When wiring, connect the black (live) wire to the fixture’s wire, the white (grounded) wire to the neutral, and the green or copper wire to ground. Use a helper to support the fixture during connection. Secure wires with appropriate wire nuts, and tuck them neatly inside the junction box. Remember, proper grounding prevents shocks.
Here’s a quick guide:
| Step | Action | Tip |
|---|---|---|
| 1 | Turn off power | Always verify with a tester |
| 2 | Connect wires | Black to live, white to neutral, green to ground |
| 3 | Secure connections | Use wire nuts securely |
| 4 | Support fixture | Helper can help hold it steady |
| 5 | Final check | Ensure ground is bonded properly |
Finishing Touches: Installing Bulbs, Shades, and Adjusting Your Lights

Once the wiring is safely in place, the focus shifts to adding the finishing touches that truly bring the vanity to life. Installing bulbs correctly ensures consistent and flicker-free illumination, so they should be seated securely in their sockets, following the fixture’s specifications. If shades are included, attach them carefully by aligning with mounting screws and securing decorative caps.
Selecting bulbs with a warm color temperature, around 2700–3000K, helps create that cozy, salon-like glow. For optimal illumination adjustments, position bulbs evenly to avoid shadows and hotspots, ensuring the mirror area is well-lit.
Consider the following:
- Secure bulbs tightly to prevent flickering
- Attach shades according to instructions
- Adjust bulb angles for even coverage
- Confirm proper grounding and safety measures
Troubleshooting Common Vanity Light Installation Issues
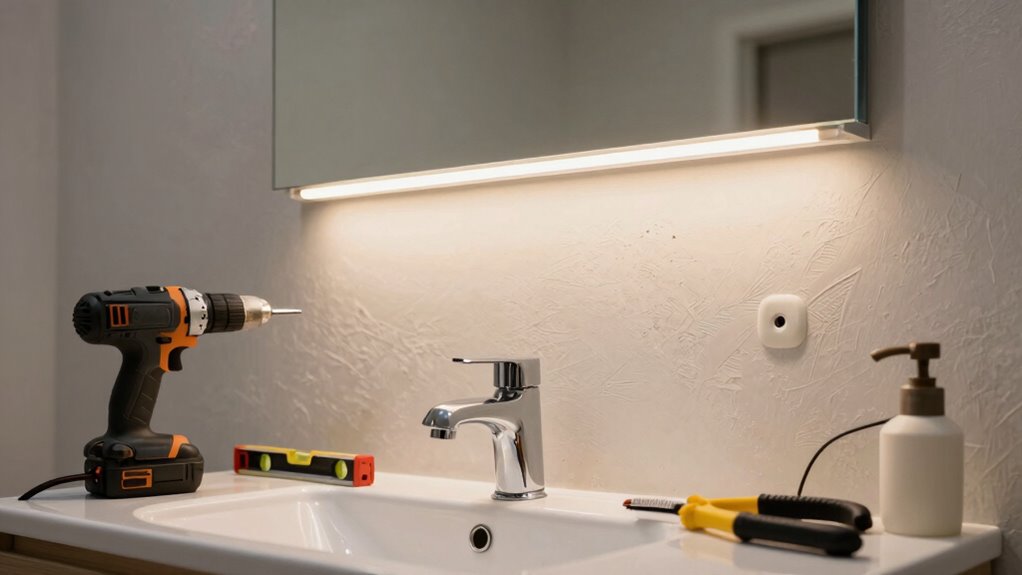
Have you ever run into trouble while installing vanity lights and wondered what might be going wrong? Troubleshooting common vanity light installation issues often involves checking vanity light wiring. First, ensure the power is off at the wall switch and circuit breaker—safety always comes first.
If the vanity light wiring seems correct but it still doesn’t work, verify grounding. If there’s no ground wire, it’s best to consult or hire a licensed electrician to handle grounding properly, following local code.
During wiring, connecting black to live, white to neutral, and green or copper to ground is essential for safety.
Also, double-check that the mounting plate is secured to the junction box before attaching the fixture. Proper mounting and safety precautions keep the installation secure and reliable, avoiding common pitfalls.
Tips for Maintaining and Updating Your Vanity Lights Over Time

Ever wondered how to keep your vanity lights looking bright and beautiful over time? Regular vanity lights maintenance is key to preserving that salon-quality glow. To do this, start with simple tasks like cleaning the fixtures with a soft cloth and mild detergent. This prevents buildup that dulls the brightness.
When it’s time for bulb replacement, always choose bulbs with the recommended wattage and type from the fixture manual to keep the color temperature just right and avoid overheating. Additionally, check and tighten mounting hardware every 6–12 months to prevent wobbling, and inspect electrical wires for wear or fraying during yearly care.
For a fresh look every few years, consider a lighting refresh by re-evaluating fixture style and brightness needs. Proper upkeep ensures your vanity lights stay stunning and safe.