

Decorating headphones creatively can be simple and fun. Using contrast-colored ribbons, like black on pink or gold on silver, adds bold accents, while matching ribbon shades to headphone tones creates a cohesive look. Custom printing with a P12 Pro allows for personalized messages or designs, easily cut with its built-in cutter. Wrap ribbons around ear cups or tie bows for a polished finish. Adding glitter, gems, or pearls elevates the style, and swapping decorations keeps your look fresh. More ideas are just a step away.
1. How to Choose the Perfect Ribbon Colors and Styles for Your Headphone Decor
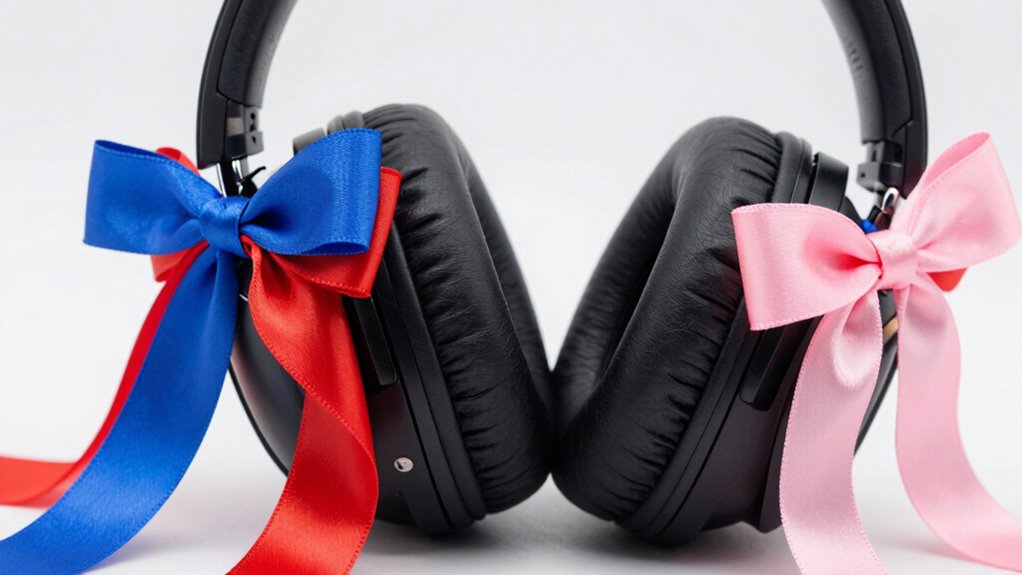
Ever wonder how to pick the perfect ribbon colors and styles to give your headphones a fresh new look? When choosing ribbon colors for headphone decor, it’s smart to pick options that contrast well, like black on pink or gold on silver, creating eye-catching accents. Consider matching ribbon shades with your headphones’ tones or your outfit for a cohesive style. Using the Print Master app helps you customize label content before printing, allowing you to add fun captions or personalized messages.
Think about the mood you want to set—pastel ribbons for a playful vibe or metallics for glamour. Lastly, select ribbons that are sturdy and easy to wrap around ear cups, ensuring they stay in place when tied into bows. This thoughtful approach makes headphone decor both stylish and practical.
Recommended Products
Ribbons for Crafts - 30 Yd Pack Metallic Ribbon for Hair Ribbons for Girls Spring Ribbon Craft Fabric Trim Assorted Cute Decorative Bulk Sewing Trim Wrapping Bow Making Supplies Variety Scraps Bundle
Check each seller's condition and delivery.
Norme 1/8 Inch Silver Glitter Metallic Ribbon Thin Christmas DIY 50 Yards
Check each seller's condition and delivery.
2. Step-By-Step Guide to Printing and Cutting Custom Ribbons With P12 Pro
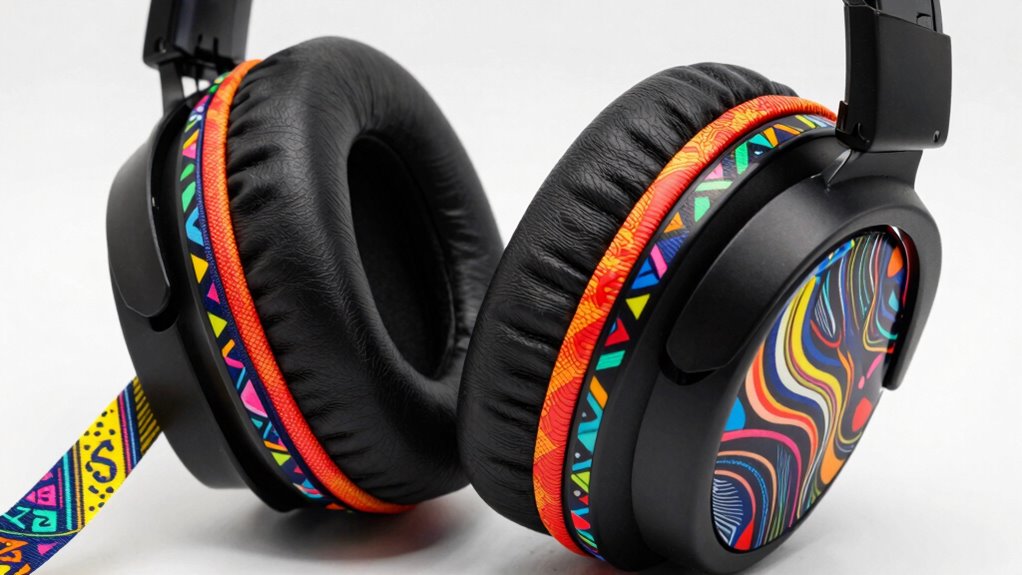
How does one transform a simple ribbon into a personalized decorative element for headphones? With the P12 Pro, creating custom ribbons for headphone decoration becomes easy and fun. First, install the preferred ribbon label tape—colors like black on pink or gold on silver work well.
Open the Print Master app, where you can edit your label content to add names, patterns, or designs. Once ready, tap Print to produce the ribbon. After printing, use the built-in cutter to make clean, precise cuts, ensuring your custom ribbons look professional.
Peel back the black film to reveal the vibrant design, then carefully attach it to your headphones. This process combines creativity with technology, making personalized headphone decoration accessible for everyone.
| Step | Description |
|---|---|
| Install ribbon tape | Choose and load preferred color into P12 Pro |
| Edit in Print Master app | Customize your message or design |
| Print and cut | Press print and use cutter for neat edges |
| Verify and attach | Peel film, check print, then decorate headphones |
Recommended Products
Name Tapes Embroidered Custom Nametapes Military Name Patches
Check each seller's condition and delivery.
Custom Uniform Name Tapes Solid Colors. Black Webbing
Check each seller's condition and delivery.
3. Creative Ideas for Wrapping and Tying Ribbons on Headphones for a Personal Touch
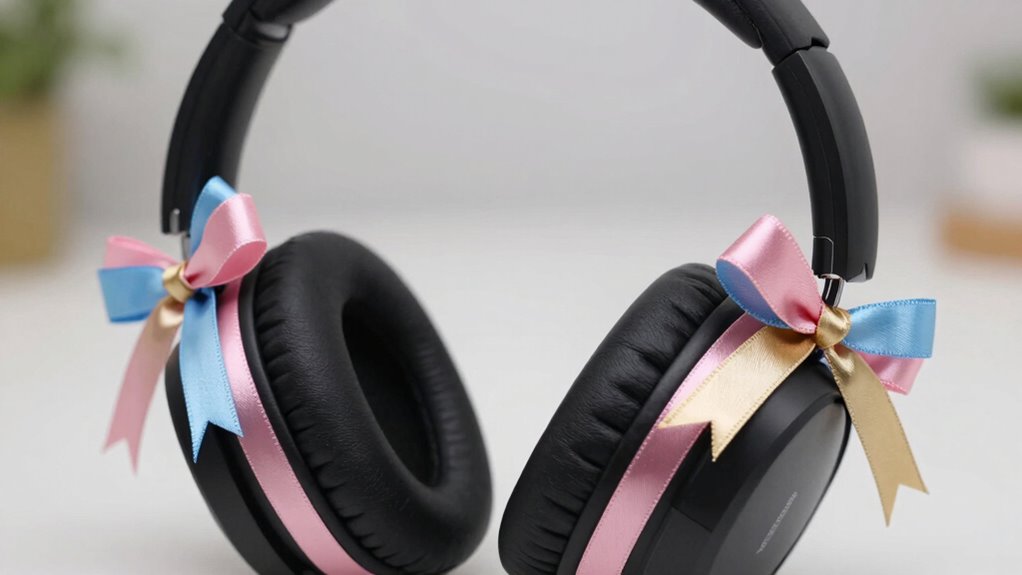
Decorating headphones with ribbons offers a fun and creative way to personalize your favorite tech accessories, and there are plenty of clever wrapping and tying ideas to explore. Ribbon wrapping can instantly transform plain headphones into eye-catching pieces of headphone decoration, perfect for expressing individual style. For a custom headphone design, using printed ribbon labels from the Phomemo P12 Pro adds a unique touch—simply print your design, cut with the built-in cutter, and peel away the film to reveal your pattern.
When wrapping, choose ribbon colors that contrast with your headphones—like black on pink or gold on white—to make your decorations pop. Pre-tie bows or wrap the ribbon around the ear cups before knotting ensures a polished look. Watching a video guide can help perfect technique and alignment, making your headphone decoration truly stand out.
4. Easy Techniques to Add Glitter, Gems, or Pearls for a Chic Look
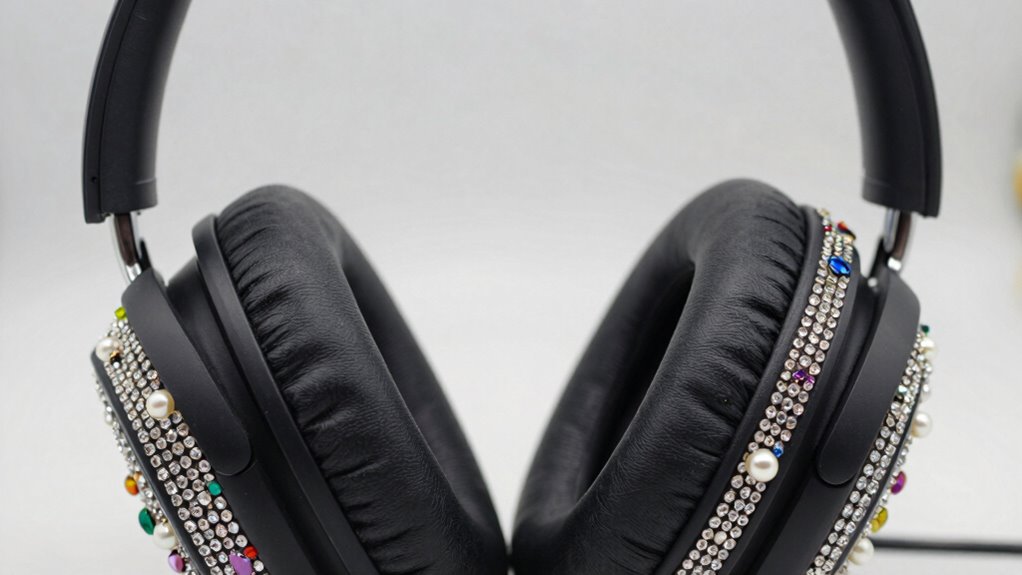
Adding glitter, gems, or pearls can instantly give headphones a chic and stylish upgrade. This method of headphones decorating is simple yet effective. For a sparkling outline, rhinestones can be glued along the ear cup edges using a strong fabric glue, creating a subtle shimmer.
Pearl embellishments, such as pearl beads, look luxurious when applied in a staggered pattern across the headband, secured with clear-drying adhesive. To add a touch of glam, create a glitter gradient by brushing fine cosmetic-grade glitter from the outer rim toward the center of each ear cup, then sealing it with a transparent spray sealant. Small pearl clusters at ribbon-tied bows or rhinestones can elevate the overall aesthetic, making the headphones truly stand out with a chic, feminine flair.
Recommended Products
Outus 60750 Pcs Self Adhesive Rhinestone Sheets 59x7.87 Inch
Check each seller's condition and delivery.
Tetutor 5 Yards Self Adhesive Rhinestone Ribbons
Check each seller's condition and delivery.
Epakh 84 Pcs Silver Butterfly Stickers Glitter Bling Rhinestone Sticker
Check each seller's condition and delivery.
5. Tips for Swapping and Maintaining Your Decorated Headphones for Different Styles
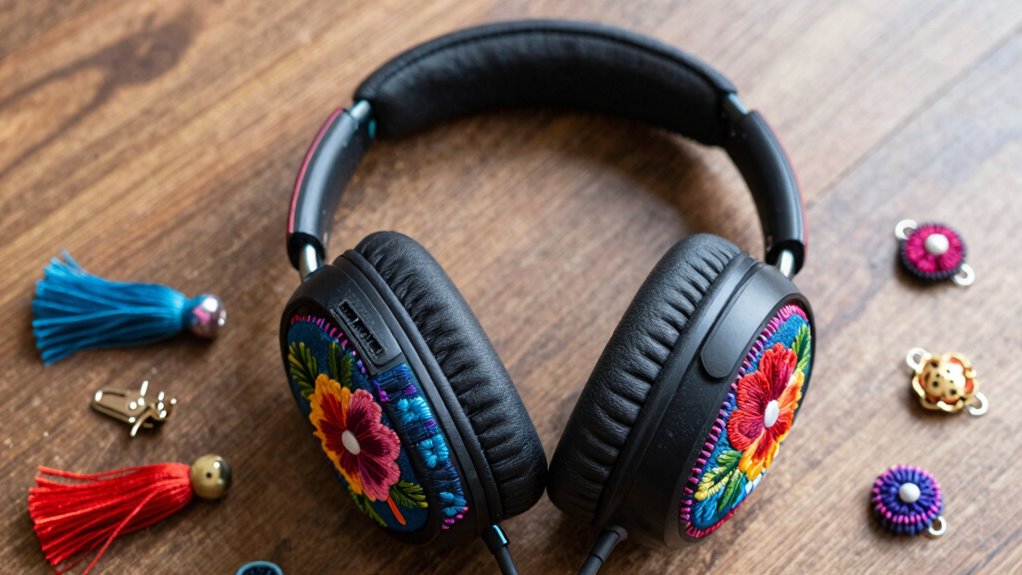
Have you ever wanted to switch up the look of your decorated headphones quickly and easily? Using the P12 Pro to print ribbon labels matching each style makes style swaps simple. Cut the ribbons with the built-in cutter and wrap them around ear cups for an instant makeover. Pre-tying bows on ribbons and storing them ready to use saves time during quick changes.
For maintenance, peel off printed ribbons, recheck their legibility, and reapply to keep designs fresh. Keeping a small selection of ribbon options—like black on pink, gold on white, or blue on silver—allows for effortless style swaps. Document each style with notes or videos to ensure consistent looks.
This organized approach keeps your headphones stylish and well-maintained, ready for any occasion.
| Style Swap Tips | Maintenance Checks |
|---|---|
| Pre-tie bows and store | Recheck ribbon legibility |
| Use ribbon labels and cutter | Keep ribbon variety |