
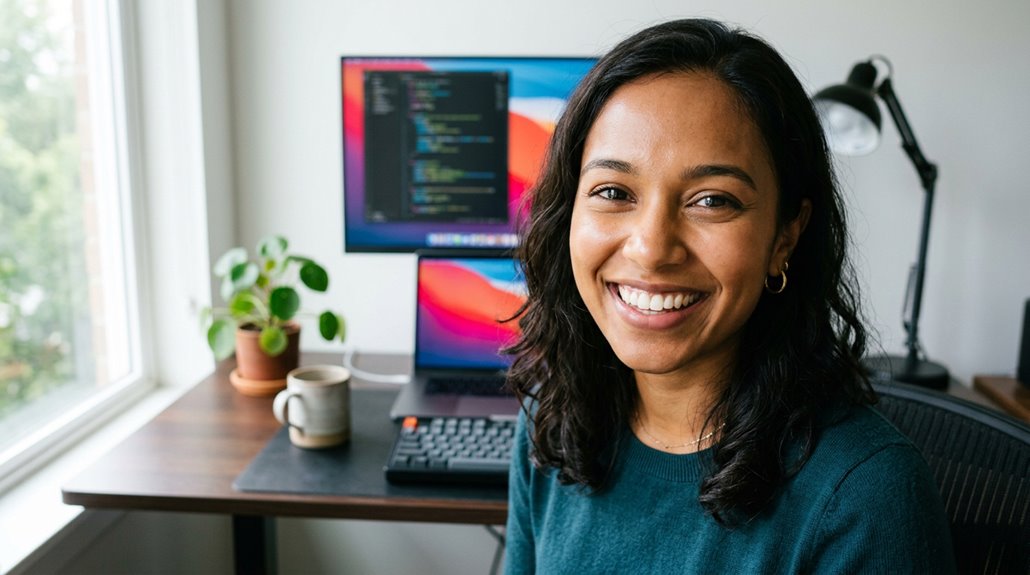
To take perfect webcam selfies, start by positioning the camera slightly above eye level and tilting downward about 10–15 degrees for a natural look. Use soft, natural light—such as window light at 45 degrees—and avoid harsh overhead or backlighting. Keep the background simple and clutter-free, and frame yourself from the shoulders up. Adjust camera settings for high resolution and proper white balance. For more tips, explore how subtle adjustments can really boost your selfie game.
How to Set Up Your Webcam for Flattering Selfies
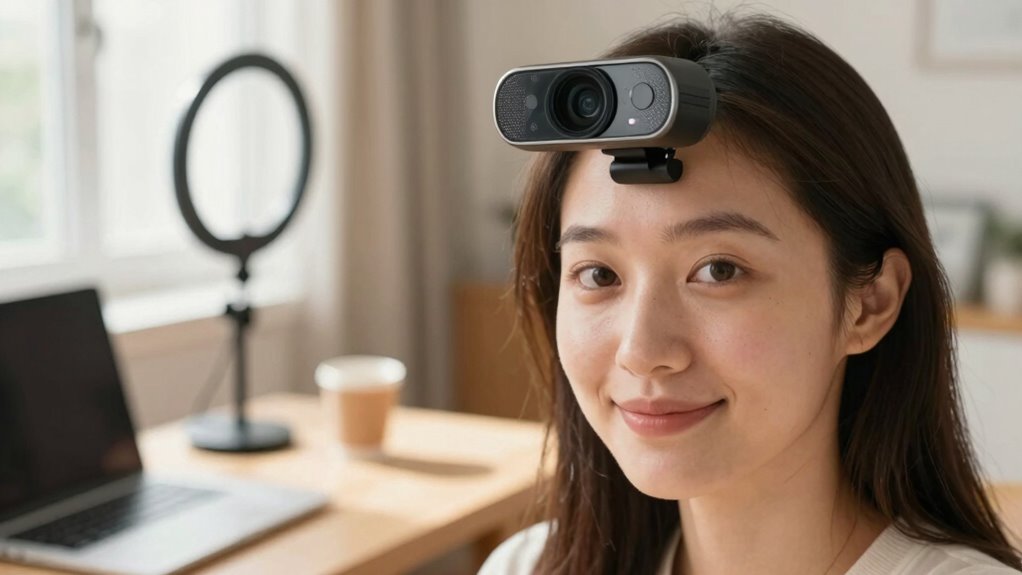
Ever wondered how some people manage to look effortlessly good in their webcam selfies? It’s often all about the right setup, especially webcam angles and flattering lighting. Position the webcam slightly above eye level and tilt it downward about 10–15 degrees. This creates a more attractive jawline and minimizes double chin visibility. Use portrait settings if your webcam offers them; these soften focus and help you stand out from the background.
For lighting, aim for soft, natural illumination—placing a diffused lamp or window light at about 45 degrees from your face. Avoid harsh overhead lights or backlighting, which can cast unflattering shadows. Calibrating white balance and brightness ensures your skin tone looks natural, making your selfie both flattering and professional.
Recommended Products
EMART Softbox Photography Lighting Kit 2Pack 50W LED 16"x16" Pull Soft Box
Check each seller's condition and delivery.
Choosing the Best Lighting for Your Webcam Selfies
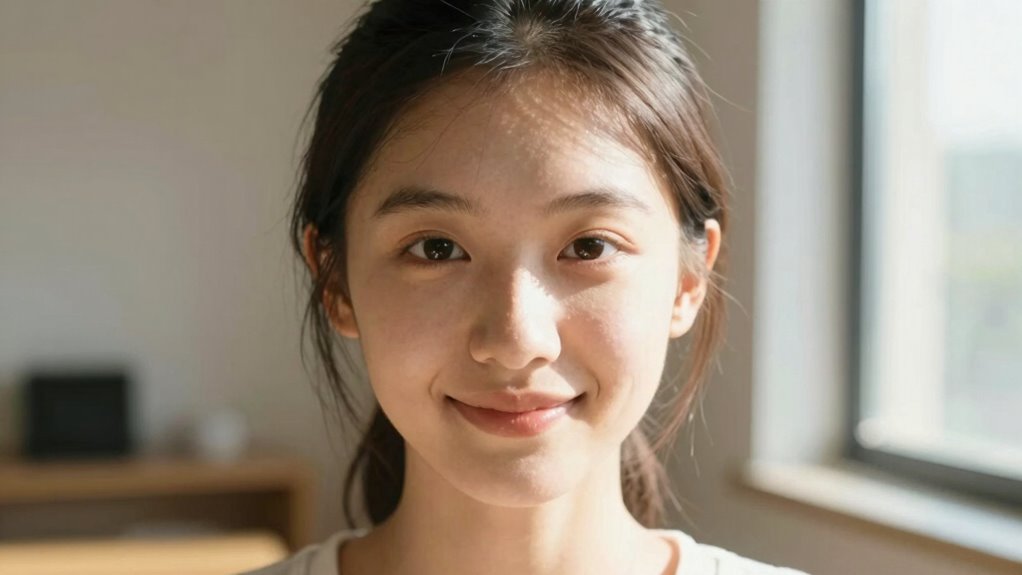
Have you ever noticed how the right lighting can make a webcam selfie look professional and flattering? It’s all about positioning and choosing the right light sources. Natural window light is ideal—position yourself so that the light hits your face from the front and slightly above eye level. This creates soft illumination, reducing shadows under your eyes and giving your skin a smooth glow.
Instead of harsh sunlight, opt for diffused lighting, like open shade or a cloudy day, to avoid blown-out highlights. A window light at a 45-degree angle adds gentle dimension with subtle highlights and shadows, making your face come alive.
If indoor lighting is dim, supplement with a soft, diffuse light such as a ring light to achieve natural skin tones and a flattering look.
Recommended Products
InnoGear Ring Light for Computer On-Camera Monitor Video Conference Light
Check each seller's condition and delivery.
UBeesize 12" LED Ring Light with 62" Tripod Stand
Check each seller's condition and delivery.
Finding Your Most Flattering Webcam Angles
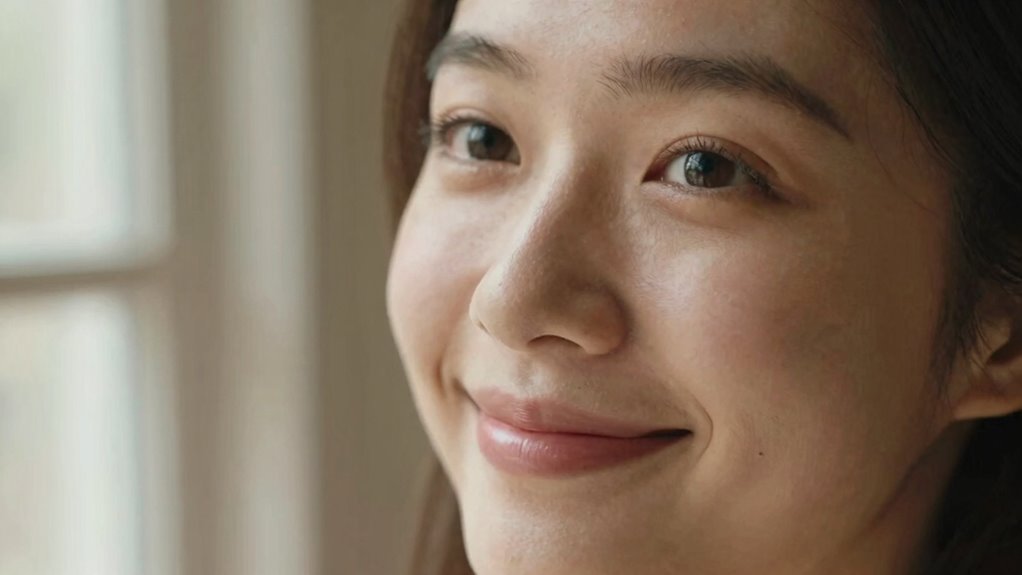
Finding the most flattering webcam angles often involves a few simple adjustments that can make a big difference in how you look on camera. Positioning the webcam slightly above eye level helps define the jawline and keeps your eyes engaged, avoiding a flat, chin-on-camera look. A small camera tilt downward creates a more natural, appealing angle, but keeping the camera straight during movement preserves facial symmetry.
Slightly tilting your head and turning your face to your best side can reduce glare and highlight your features. Additionally, choose a clean background and sit a few feet from the wall to prevent shadows that can flatten your appearance. Remember, varying clothing tones and subtle patterns also help avoid a dull, flat look in your webcam shot.
Tips for Framing and Backgrounds That Highlight You
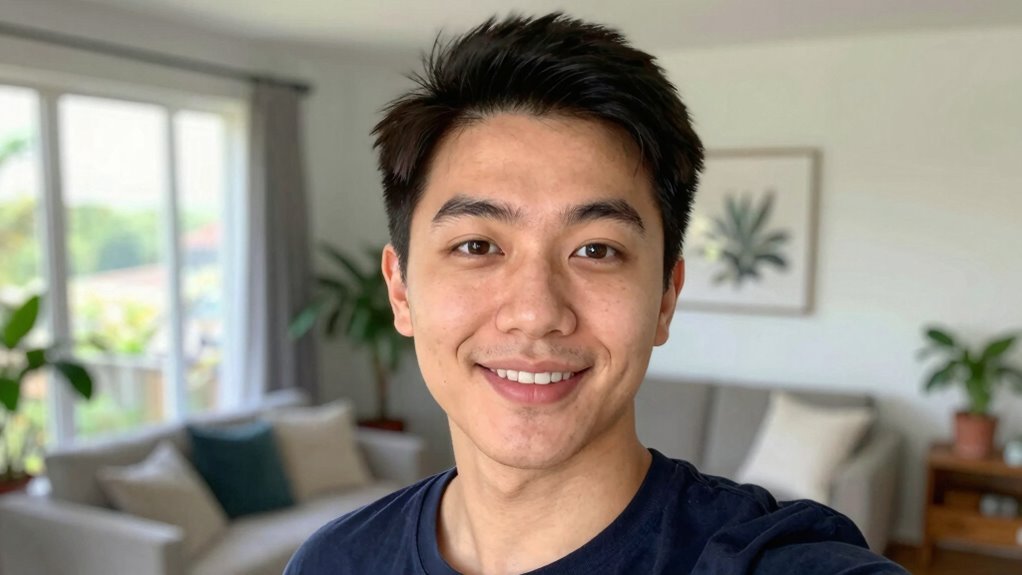
What makes a webcam shot truly stand out? It’s all about thoughtful framing and backgrounds. For webcam selfies, positioning the webcam slightly above eye level helps define the jawline and creates a flattering head-and-shoulders frame. Keep the background simple—think clean walls or soft textures—to avoid distractions and keep the focus on you. When possible, use a shallow depth of field to blur the background, making you pop visually.
Incorporating leading lines or placing a nearby object can add depth without pulling attention away. Additionally, choosing a background color that contrasts with your clothing and skin tone helps you stand out clearly on camera. These tips ensure your webcam selfies highlight your best features in a natural, appealing way.
How to Use Camera Settings to Improve Selfie Quality
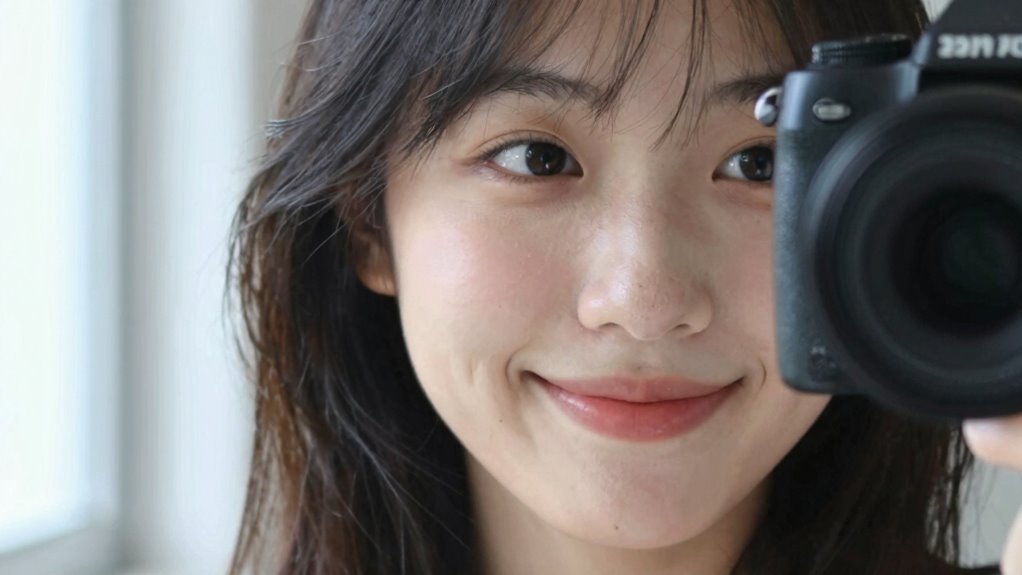
Ever wonder how to make your webcam selfies look sharper and more professional? Adjusting your webcam settings is a great place to start. Setting the resolution to 1080p or higher assures your images are crisp, while choosing a 16:9 aspect ratio keeps them standard-wide for most platforms. If your software supports it, enable face-tracking or motion stabilization to keep your face perfectly centered, even if you move.
White balance is key, matching it to your lighting, whether daylight or indoor tungsten, helps your skin look natural. Additionally, fine-tuning exposure parameters—using manual exposure or a low ISO—reduces noise and prevents highlights from blowing out. Position your light at a 45-degree angle, and consider using a diffuser for softer, more flattering lighting that highlights skin texture.
Recommended Products
Logitech Brio 101 Full HD 1080p Webcam for Streaming and Meetings - Black
Check each seller's condition and delivery.
Troubleshooting Common Webcam Selfie Challenges
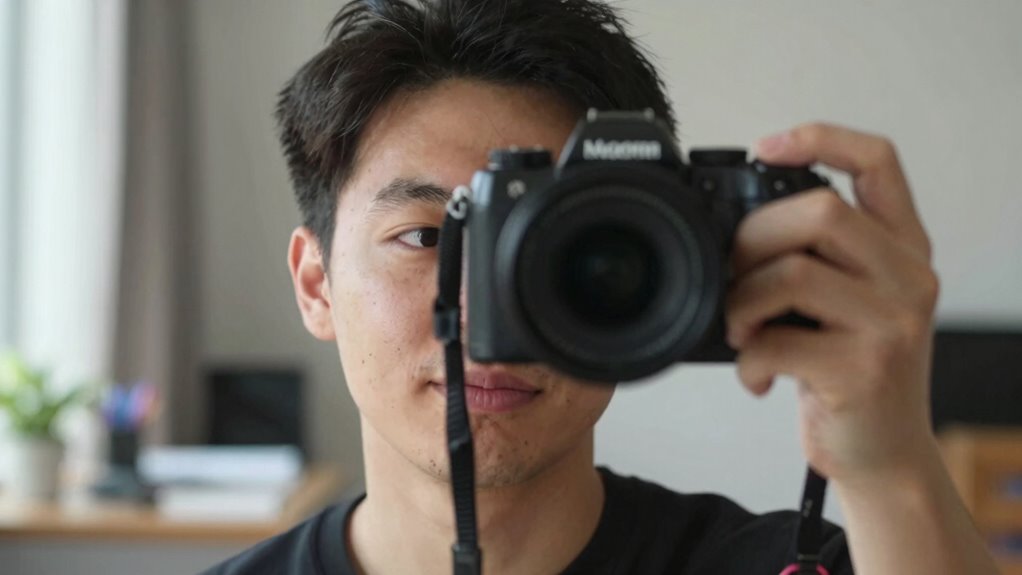
Troubleshooting common webcam selfie challenges can feel like solving a little puzzle, but with some simple tips, most issues are easily fixed.
For webcam lighting, avoid harsh overhead lights that flatten your features; instead, place a soft light slightly in front and above eye level to add gentle shadows that define your cheekbones.
When adjusting the camera angle, raising the webcam slightly above eye level and tilting it down can help reduce a double chin.
To prevent nose prominence, increase the distance from the camera or widen the lens view.
If the colors seem off, check your white balance settings—switch to daylight mode or manually adjust it to around 5200K.
Balancing these elements ensures your selfie looks natural, flattering, and well-lit.
Enhancing Selfies With Smart Tools and Accessories
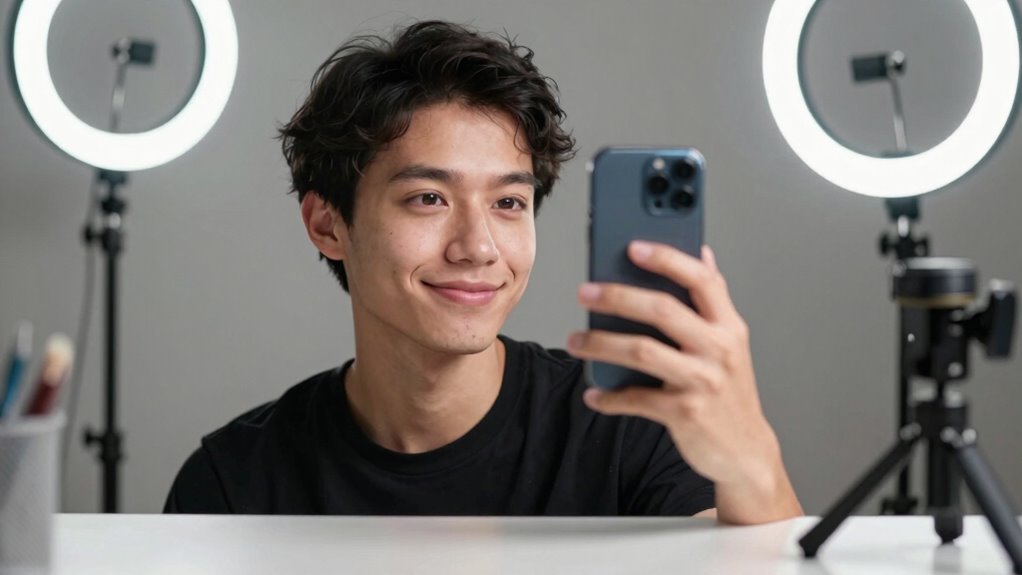
Have you ever wished you could adjust your webcam selfie after you’ve taken it? Smart tools and accessories make this possible. Invisible selfie sticks and 360-degree cameras allow for post-capture framing, meaning you can change the angle or crop your shot after recording. This removes the pressure of getting everything perfect in one take. Post-capture framing can fix tilt, height, or composition issues, giving you a more balanced look without redoing the whole selfie.
Meanwhile, 360-degree cameras capture all directions at once, letting you select the best framing later. Features like tracking and stabilization keep you in the frame and smooth out micro-movements. With tools like Insta360 Snap Selfie Monitor and built-in lighting controls, adjusting lighting and previewing shots in real time becomes easier. These tools help you achieve natural, confident selfies effortlessly.
- *Think beyond real-time adjustments; editing offers new creative freedom*
- *Smart accessories help you perfect your shot without extra effort*
- *Embrace technology to boost confidence and improve results naturally*
Quick Tips to Boost Confidence and Capture Natural Expressions
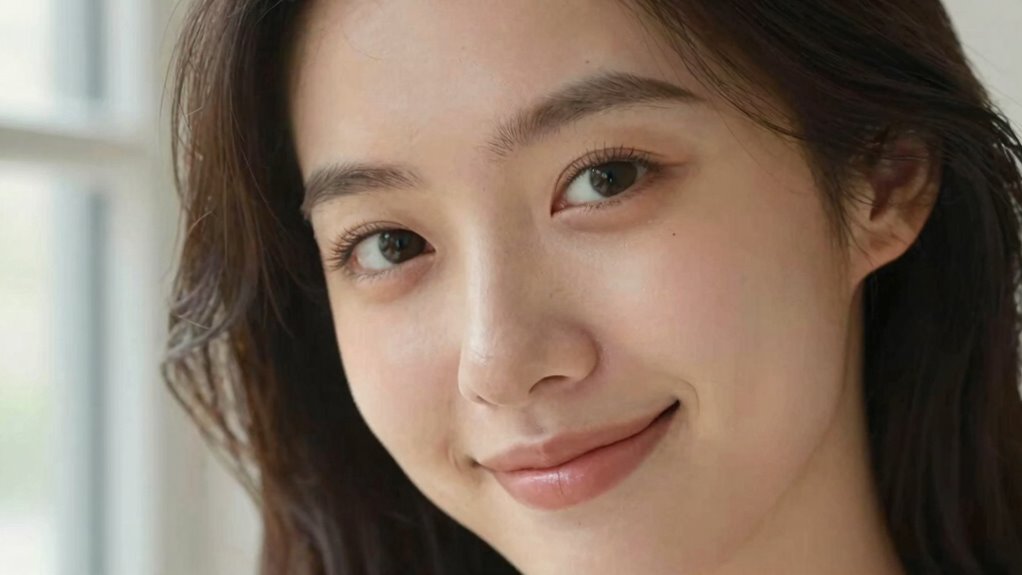
What makes a webcam selfie look more genuine and relaxed often comes down to small, intentional choices. First, maintaining eye-level or slightly above-camera angles helps create an engaging look while avoiding harsh reflections from downward tilts. Using soft, front-facing lighting—like natural light from a window or diffused lamps—reduces shadows and encourages relaxed facial expressions.
Practicing small facial relaxations and a gentle smile can boost confidence without feeling staged. Also, keeping a simple background and framing the shot from head to shoulders emphasizes natural expressions. To refine these efforts, try capturing several quick takes with micro-expressions such as a slight smile, neutral look, or raised eyebrows. These laptop selfie ideas help identify the most authentic, confident shot.
| Tip | Explanation | Example |
|---|---|---|
| Angle | Keep camera level or slightly above | Avoid downward tilts |
| Lighting | Use soft, natural light | Near a window or diffused lamp |
| Expressions | Practice micro-expressions | Smile, neutral, raised eyebrows |