
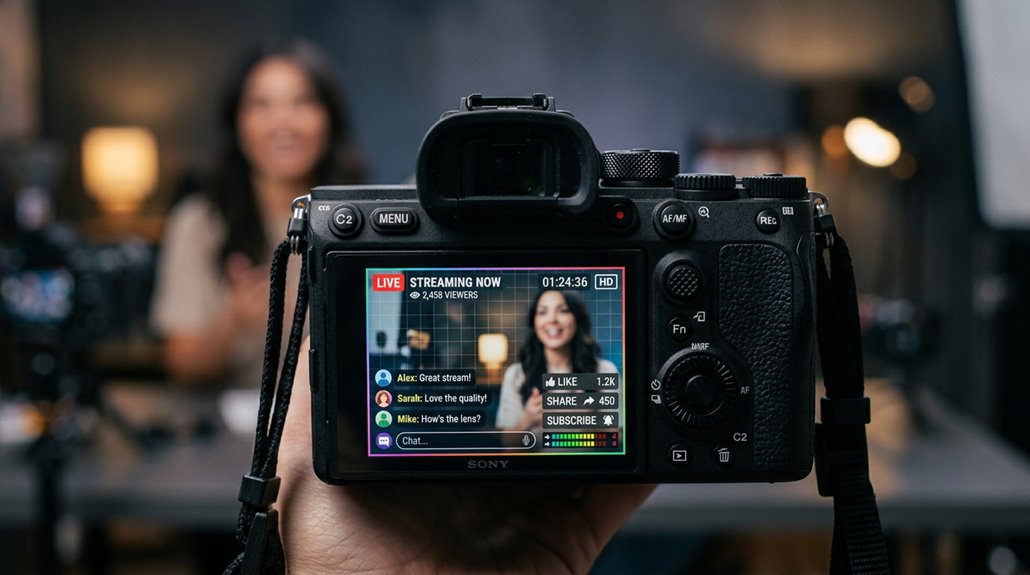
Creating a digital camera overlay involves designing transparent graphics that sit over your live video, adding borders, logos, or effects without blocking the view. Start with a graphic tool like Photoshop or Canva, setting the canvas to 1920×1080 pixels for Full HD. Use PNG format with alpha transparency so the overlay blends seamlessly. Position it in your streaming software, adjust size, and lock it in place. Exploring advanced options, such as live graphic tools, reveals how to keep your overlays fresh and professional—keep exploring to learn more.
Understanding the Purpose of a Camera Overlay in Livestreams
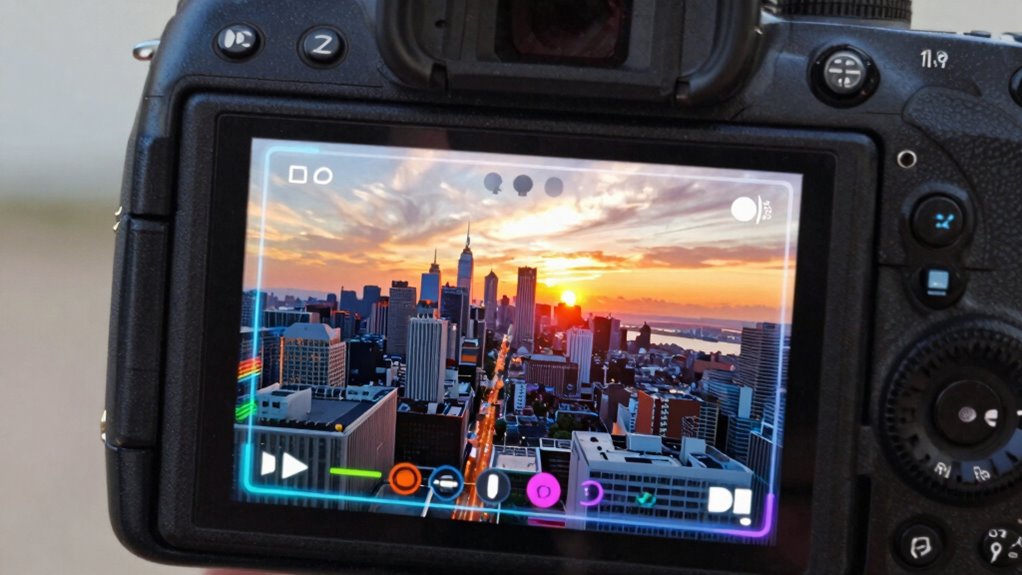
Ever wondered why some livestreams look more polished and professional than others? The key often lies in a well-designed camera overlay. This graphical layer sits on top of the live video feed, helping control how the camera appears in the scene. It can add frames, borders, or transparency PNG effects, making the subject stand out clearly. Overlays also enable livestream branding by including logos or colors that match the channel’s style.
They can be used to mask edges or soften the camera’s appearance, creating a smooth, cohesive look. Created as transparent PNGs, overlays are imported into streaming software, then resized and aligned to fit different screens. In short, they help make livestreams visually appealing, consistent, and professional without altering the actual camera feed.
Recommended Products
RETO Ultra Wide and Slim 35mm Reusable Daylight Film Camera - 22mm Wide Lens
Check each seller's condition and delivery.
JMX Acrylic/PC CCTV Replacement Clear Camera Dome Cover Security Camera Housing Pet Dog Fence Window Skylight Window (3.8 Inches
Check each seller's condition and delivery.
Designing Your Camera Overlay: Key Elements and Dimensions
Have you ever wondered how to make your livestream look more professional and visually appealing? The secret lies in designing a well-crafted camera overlay, typically created as a transparent PNG. This format allows the live video behind it to show through while adding stylish borders and graphics.
For best results, aim for a 1920×1080 overlay, matching standard Full HD broadcasts, so everything scales smoothly. The overlay should include a designated transparent area—think of it like a window—where the video feed will appear. When designing, consider elements like border radius, drop shadows, and color contrast to make your camera pop against different backgrounds.
Finally, save the overlay with a consistent DPI and optimized file size to keep your stream running smoothly without lag.
Creating Transparent PNGs or Graphics for Overlays
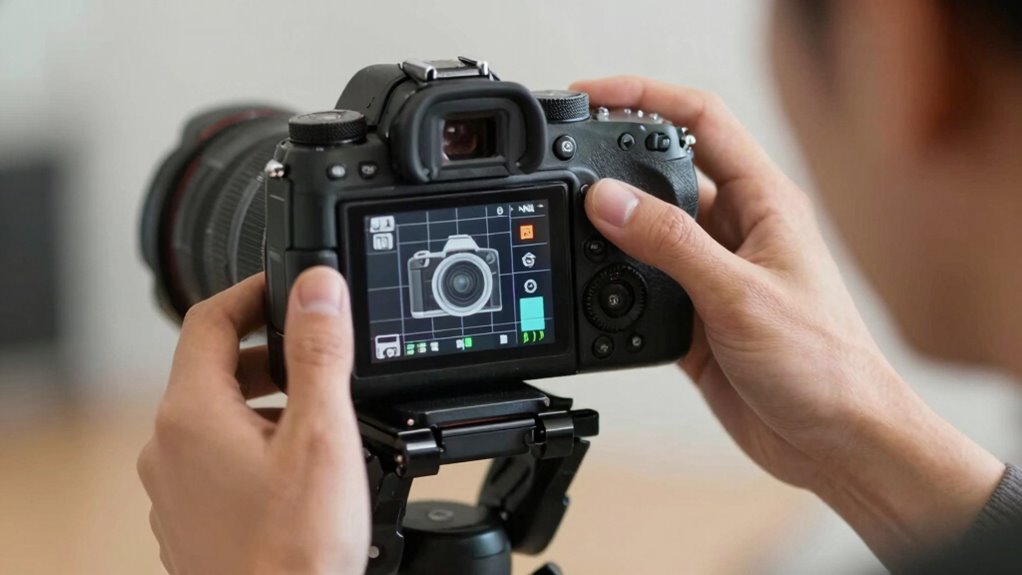
Creating transparent PNGs or graphics for overlays is a fundamental step in making your livestream look polished and professional. Transparency allows graphics to sit seamlessly over your video feed without blocking important visuals. When designing overlays, using PNG-24 format with 8-bit alpha ensures smooth, semi-transparent edges, which helps blend graphics naturally into your scene. It’s important to set your canvas size to match your output, like 1920×1080, and export with a transparent background—so no unwanted boxes appear. Keep your overlay layers simple, with just one isolated graphic layer and no embedded backgrounds.
For easy updates, create multiple PNGs—such as logos or badges—and swap them out in your overlay editor. This approach keeps your overlay design clean and adaptable.
Using Live Graphics Tools Like Singular.live to Build Overlays
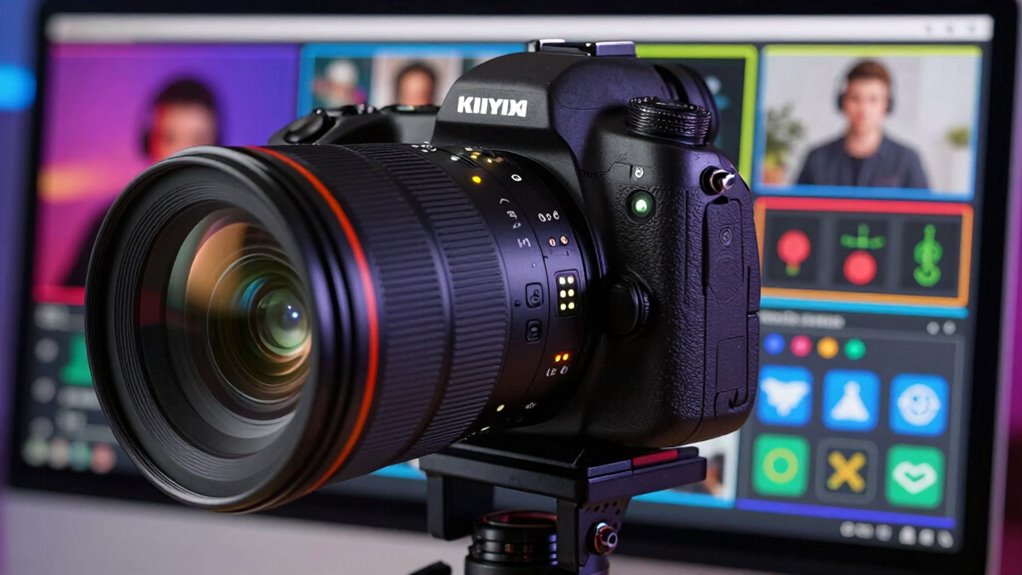
Using live graphics tools like Singular.live offers a flexible way to build dynamic overlays that can enhance a livestream or photo presentation.
With Singular.live, creators can design engaging overlay design elements in Studio, which serve as a kind of online scrapbook for their graphics. These elements, such as logos or text, are uploaded as assets and then incorporated into the overlay.
The platform allows auto-populating overlays with a Theme’s Playlist, making it easy to keep visuals fresh and consistent.
Once designed, the graphics are delivered to Ecamm Live as a Widget Overlay via a 1080p render and Output URL.
Importing and Positioning Your Overlay in Ecamm Live
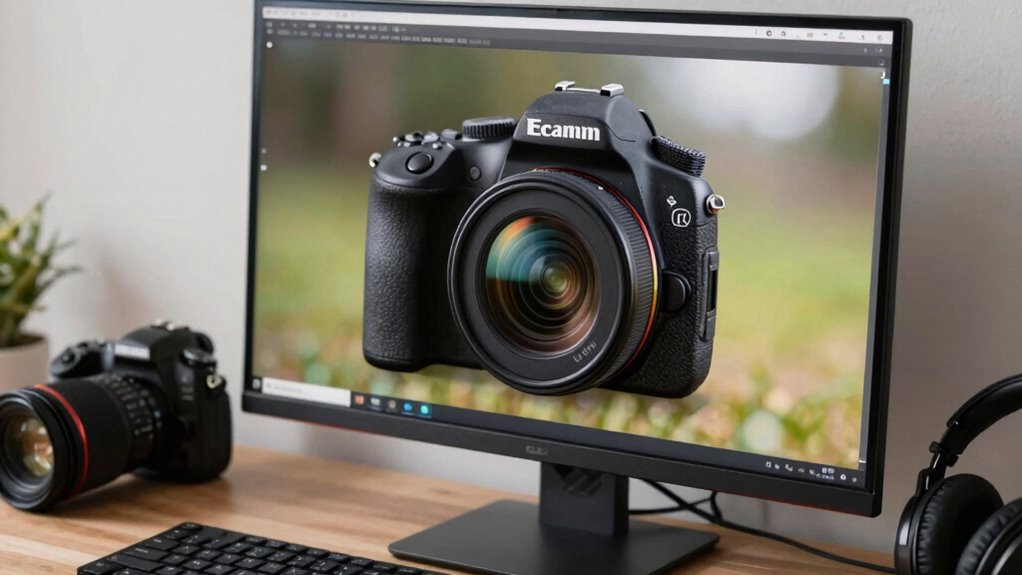
Ever wondered how to seamlessly add an overlay to your Ecamm Live scene? Importing your camera overlay is straightforward. Start by adding the overlay as a separate layer, using a camera frame PNG with transparency, or creating graphic shapes design that fits your style. Adjust its size and placement in the Preview window, aligning it with your feed.
To keep it steady, lock the overlay’s position and use Ecamm’s alignment guides, which act as your scene’s GPS. You can choose auto-fit or manually scale it, ensuring your camera feed remains visible behind or in front of the overlay. For a polished look, consider how scrapbook printing techniques could inspire layered, creative designs, making your stream uniquely yours.
Here’s a quick overview:
| Step | Action | Tip |
|---|---|---|
| 1 | Import overlay | Use PNG with transparency |
| 2 | Position overlay | Lock and align edges |
| 3 | Adjust size | Use auto-fit or manual scaling |
Customizing and Updating Your Overlay During a Broadcast
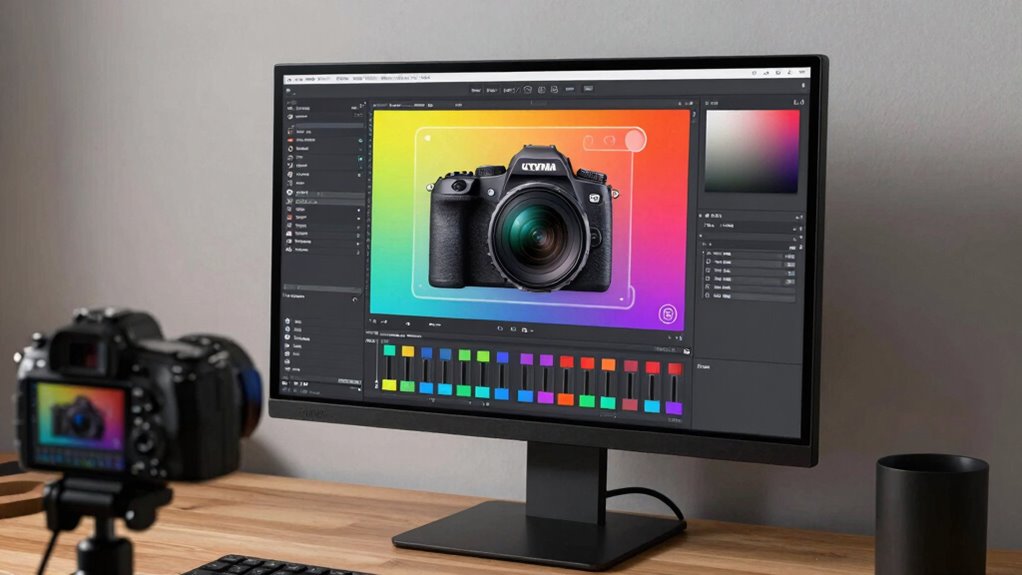
Once a camera overlay is imported and positioned in Ecamm Live, the process of customizing and updating it during a broadcast becomes a powerful way to keep your stream fresh and engaging. Using Singular.live Studio, creators can select a theme and tweak overlay elements easily through the Overlay Editor. When changes are made, clicking the Update button pushes those updates live instantly.
For the best quality, overlays should be rendered at 1080p and loaded into Ecamm as a Widget Overlay, ensuring it fits the frame perfectly. Additionally, creators can auto-populate overlays from a theme’s playlist, removing unused elements to focus viewers’ attention. Uploading logos and assets, then applying branded colors with Global Data overlays, helps maintain a professional look throughout the broadcast.
Troubleshooting Common Overlay Issues and Best Practices
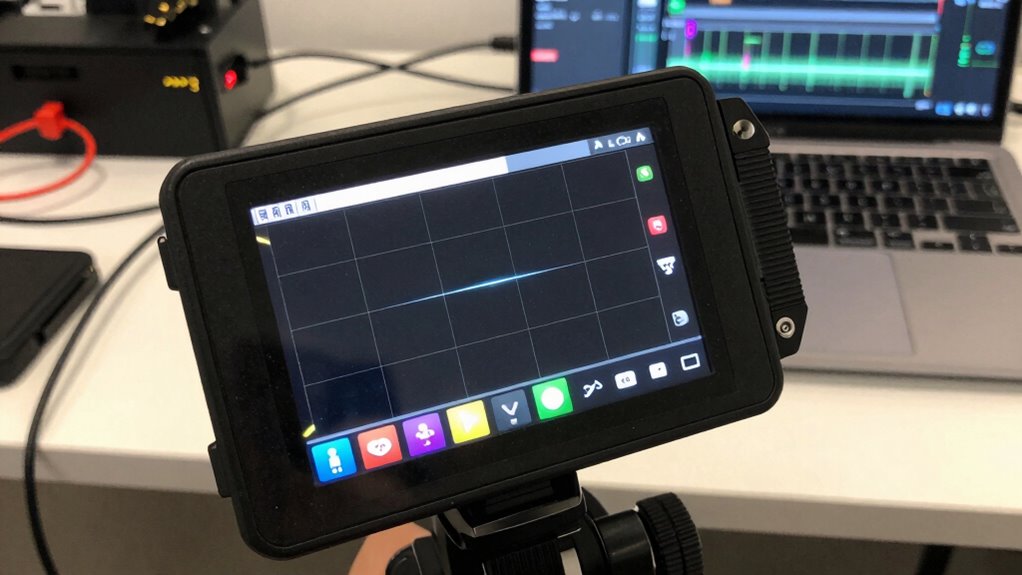
Have you ever noticed how a poorly placed overlay can make a stream look unprofessional or confusing? Troubleshooting overlays starts with testing in a blank scene—turn off all other layers to see if the overlay appears correctly. Ensuring it’s a transparent PNG or video with an alpha channel helps the stream show through where needed.
If the overlay unexpectedly covers the camera, check the layer order; the overlay should be above the camera layer. Also, verify the file’s provenance and color space to prevent issues. Re-export assets from trusted tools, keeping files optimized to avoid lag.
When using tools like Ecamm Live, load overlays as static images first. These simple steps can smooth out common issues and make your stream look polished.
Enhancing Your Livestream With Branded and Dynamic Overlays
Branded and dynamic overlays are powerful tools that can elevate a livestream from basic to professional-looking, all while reinforcing a creator’s unique identity. They include elements like borders, logos, and live camera windows, designed to fill high-quality 1080p screens for crisp visuals. Tools such as Singular.live allow creators to craft, customize, and broadcast overlays as widgets or themes, which easily connect with streaming software like Ecamm Live or OBS through output URLs.
To set them up, designers create transparent PNGs or use overlay editors, ensuring proper dimensions and a smooth 30 FPS refresh rate. Dynamic overlays can auto-update colors, logos, or data from a centralized library, making streams more engaging and polished without constant manual tweaks.