

To make a simple cardboard camera, start by gathering sturdy materials like a cardboard box, scissors, tape, and optional recycled decorations. Cut out a body shape, then create a lens using paper or plastic cups, attaching it securely. Add a small shutter using cardboard flap and incorporate a viewfinder—like a tiny tube or peephole—sealed to block stray light. Keep it black inside to reduce reflections. If you stick with the steps, you’ll discover how to layer components and personalize your camera in no time.
Gather the Essential Materials for Your Cardboard Camera
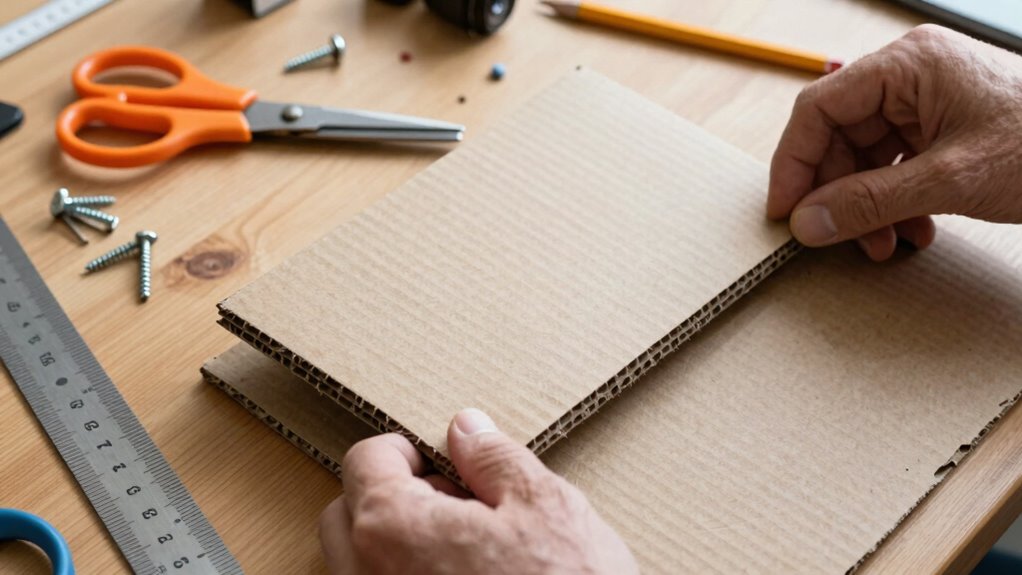
Have you ever wondered what it takes to turn a simple cardboard box into a fun, working camera? For a cardboard camera project, gathering the right materials is essential. The materials list includes a sturdy cardboard box, a paper or plastic cup for the DIY optics, and basic tools like a glue gun, tape, scissors or a craft knife, a ruler, and a pencil for accurate measurements.
To control light inside the camera, black paint or black paper is useful, along with aluminum foil and tracing or wax paper for interior lining. For customization and extra fun, recycled items like googly eyes, bottle caps, or a matchbox can add personality. Plus, a sewing needle and thin metal from a baking tray can create a pinhole alternative lens.
Recommended Products
Camera Shape Wood Craft Cutout Wall Art Unfinished Ornaments for Craft Present Tags Photography Studio Door Hanger Home Party Decoration 20 Pcs
Check each seller's condition and delivery.
Zentara Cardboard Construction Toolbox Set with Wood Handle
Check each seller's condition and delivery.
Design Your Camera Base and Cut Out the Body
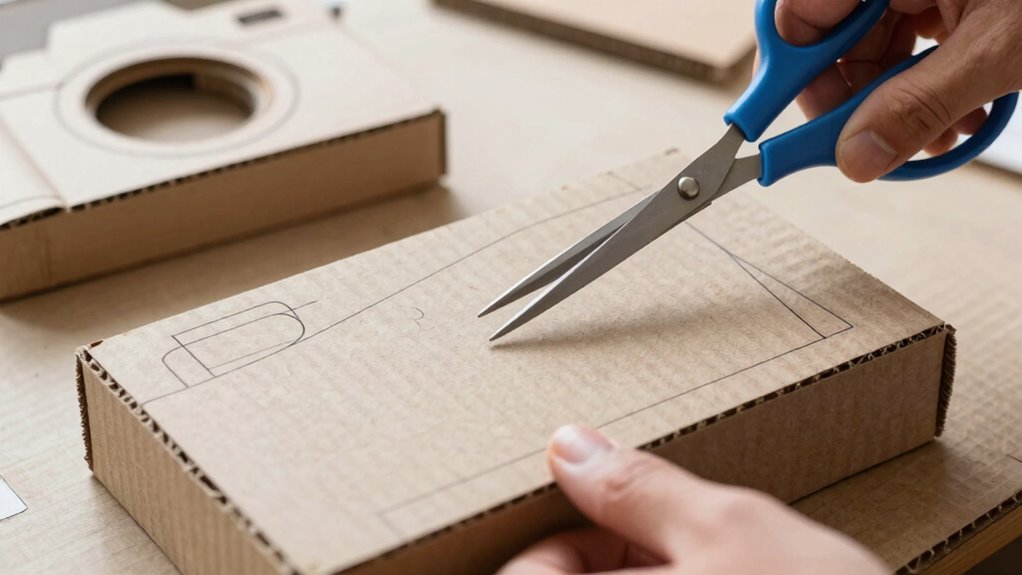
Starting with the foundation of the camera, the next step involves designing a sturdy base and shaping the main body.
For a cardboard camera, this begins with creating a precise base design by measuring and cutting a rectangle from an old cardboard box. Lightly scoring the edges makes folding easier and cleaner.
The body is formed by assembling cut pieces into a rectangular shell, with corners taped to keep its shape during gluing. The cutting pattern includes a large circle with an inner cutout for the lens, along with smaller circles for additional details. Taping the base structure firmly ensures stability, while gently sanding or creasing the folds helps achieve smooth joins.
This careful planning and cutting pattern lay a solid foundation for the rest of the camera craft.
Create and Assemble the Lens Components
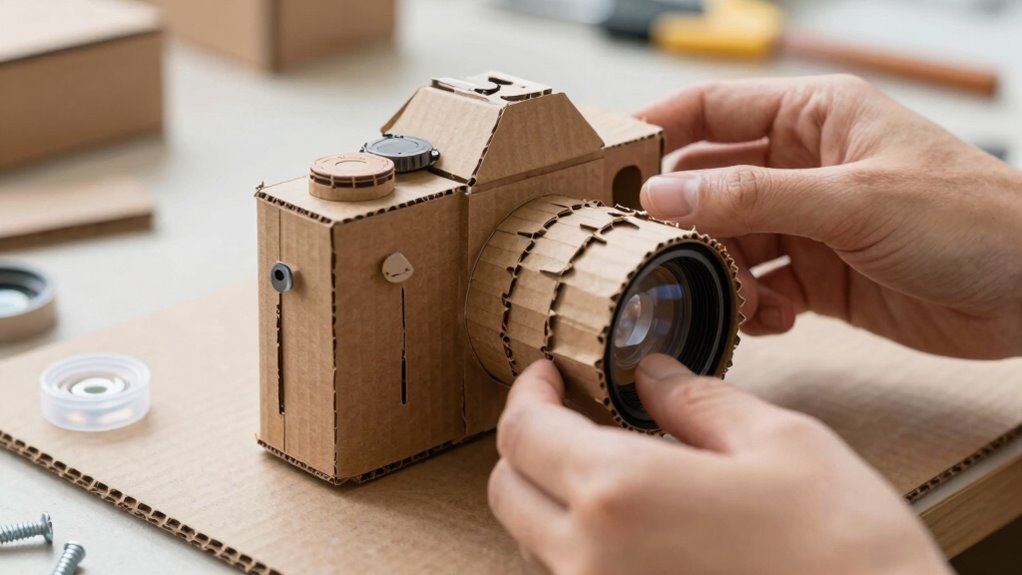
Why is it helpful to layer the lens components carefully? Proper layering ensures the DIY assembly of the cardboard camera’s lens looks neat, functions well, and mimics a real camera’s depth. The process involves cutting various circles—large, small, and with wavy patterns—to form the lens structure.
First, three large circles are glued together to create a sturdy base. Next, small circles are added around the center to add texture and dimension, giving the lens more realistic detail. A wavy-patterned large circle is then sandwiched between the layers for visual interest.
To finish, a ribbed edging is scored from cardboard strips and wrapped around the lens for a smooth, polished look. Careful layering makes the lens more authentic and easier to attach to the camera body.
- Use different sizes of circles to add depth and texture
- Glue the large circles first for stability
- Wrap scored strips for a clean, finished edge
Recommended Products
Arducam M12 Lens Kit for Raspberry Pi HQ Camera (Type 1/2.3)
Check each seller's condition and delivery.
6 ft Large Camera Cardboard Cutout Movie Award Night Party Decoration
Check each seller's condition and delivery.
Build the Pinhole or Mount a Lens for Your Camera
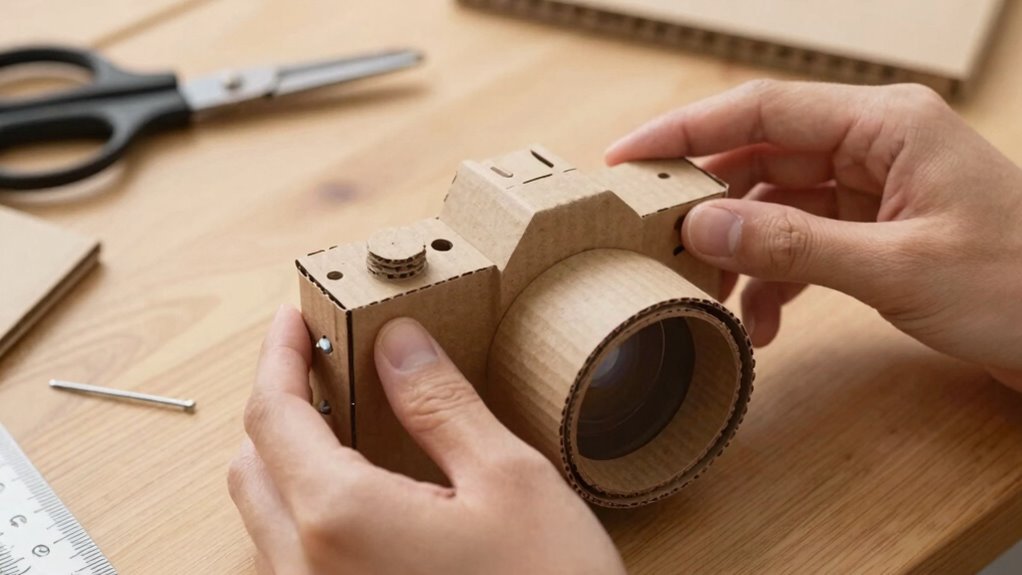
Choosing whether to build a pinhole or mount a lens depends on the kind of photography experience desired and the materials available.
For a pinhole camera, a small hole made from cardboard and aluminum foil acts as the light entry point, offering a softer, artistic look. Lens mounting involves creating a round opening about 2.5 cm in diameter and attaching a magnifying glass or similar lens, with the curved side facing outward for a stable focal surface. Both options benefit from a black interior—painted or lined—to reduce reflections and improve contrast.
Here’s a quick comparison:
| Feature | Pinhole Camera | Lens Mounting | Both Methods |
|---|---|---|---|
| Light Entry | Tiny pinhole in cardboard | 2.5 cm round hole with lens | Black interior minimizes reflections |
| Focus | Fixed, infinite focus | Adjustable via lens position | Black interior enhances image quality |
| Materials | Cardboard, foil | Cardboard, lens, tape | Black interior for clarity |
| Switching Mode | Pinhole or lens cover | Lens or pinhole cover | Controlled by tape or shutter |
| Image Clarity | Soft, artistic | Sharper, detailed | Both need black interior to improve contrast |
Recommended Products
Rust-Oleum Painter's Touch Latex Brush-On Paint
Check each seller's condition and delivery.
Rust-Oleum Painter's Touch Latex Brush-On Paint
Check each seller's condition and delivery.
Add a Sliding Shutter and Viewfinder for Shooting
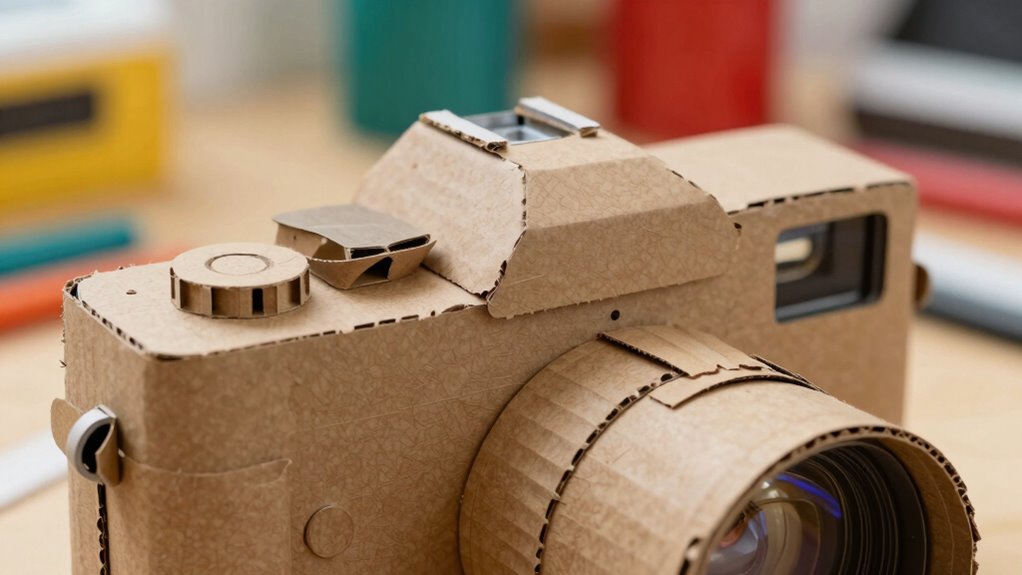
Have you ever wondered how to control when your cardboard camera captures an image? Adding a sliding shutter and viewfinder makes this possible. First, create a rectangular flap above the lens hole, attaching it with tape to allow quick, controlled exposure. This is your sliding shutter. To toggle between open and closed, use a pinhole or small vantage hole over the lens.
Next, install a simple viewfinder, like a peephole or a short paper tube, on top of the camera to help line up your shot. This ensures you’re aiming at your subject before pressing the shutter. Lastly, seal gaps around the lens and shutter with tape to block stray light. These additions improve control and framing, making your cardboard camera a fun, functional project.
Seal All Seams and Prepare the Interior for Light Tightness
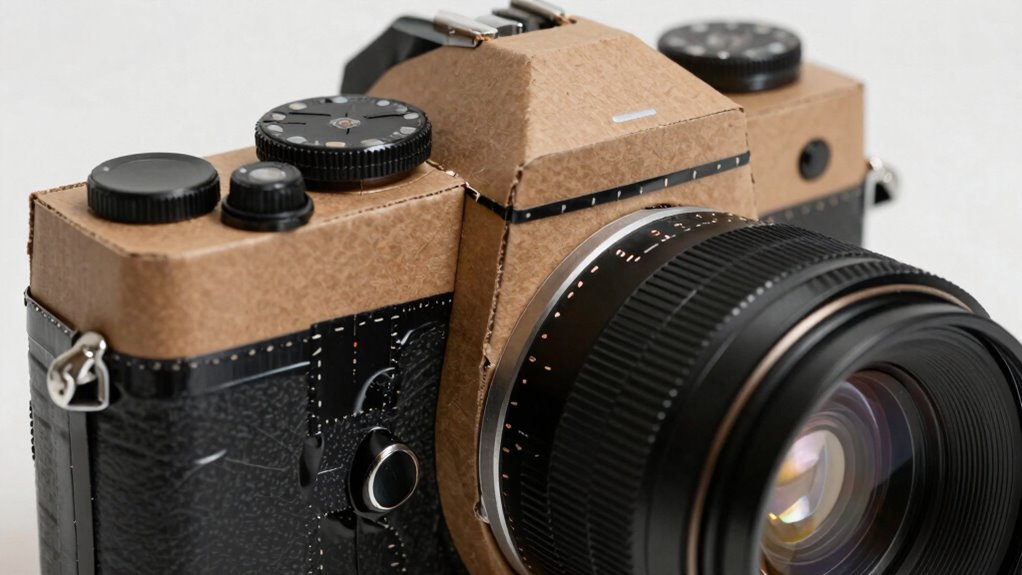
Once the basic structure of the cardboard camera is assembled, attention turns to making it truly functional by sealing all the gaps and preparing the interior. To ensure the camera is light-tight, tape all open seams thoroughly, preventing any stray light from sneaking in and ruining your shot.
Next, focus on the interior: lining or painting it black reduces reflections and light scattering inside, which helps produce clearer images. After sealing, it’s important to test for light leaks by holding the camera against a bright light. If any light shows through, re-seal those spots. This step guarantees your camera stays dark inside, so your photos come out sharp and well-exposed.
Proper sealing and interior prep are key to turning a simple cardboard box into a fully functional, light-proof camera.
Decorate and Personalize Your Cardboard Camera
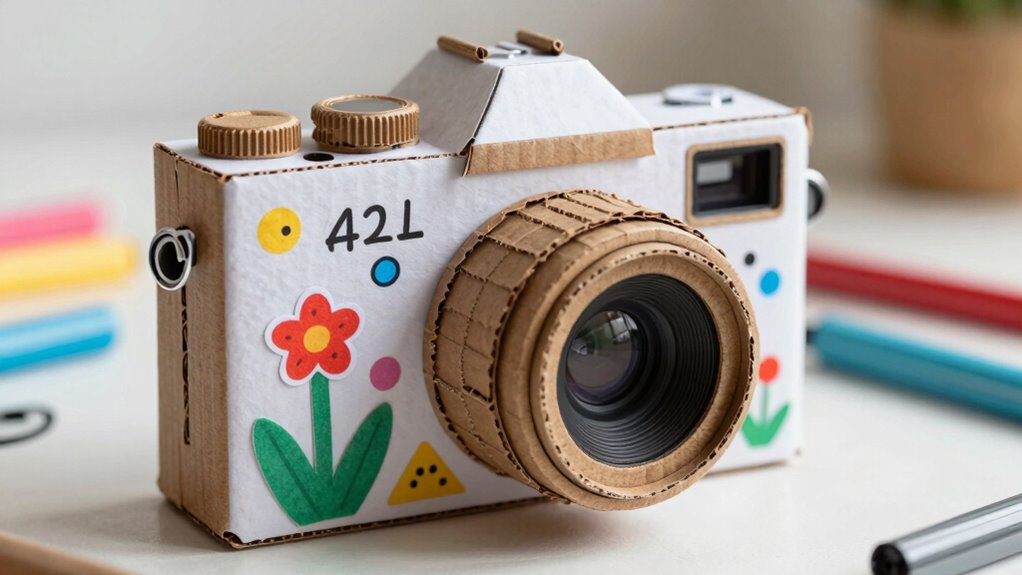
Ever wondered how to give your cardboard camera a unique personality? Personalization makes your DIY decor stand out and adds charm. Using the included HB37 pattern, you can trace and cut decorative shapes onto the cardboard body for a fun, customized look.
Painting the camera with black paint or covering it with black paper creates a sleek base, while aluminum foil accents add an authentic, metallic touch. To give it a playful character, attach googly eyes, bottle caps, and small decor scraps from recycled materials. For a retro vibe, create ribbing around the camera with scored cardboard strips to mimic a textured grip.
You can also customize the flash tower height and lens colors to match your style, ensuring all decorations are securely glued and safe.
Test and Adjust Focus and Light Entry
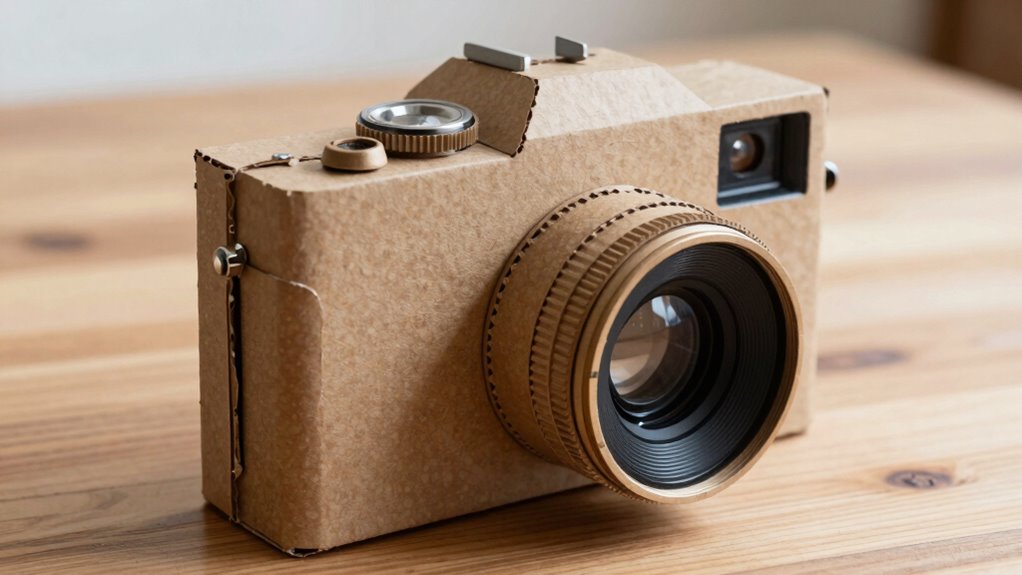
How can one be sure that a homemade cardboard camera actually works well when tested? The key is to check focus adjustment and light control. In a dim room, aim the cardboard camera at a bright scene and quickly open the shutter. The inverted image on the back screen reveals whether the focus is sharp enough. If the picture appears blurry, gently shift the back screen or move the lens to improve clarity.
Light control is just as important; ensure the interior is completely black and sealed to prevent stray light from fogging the image. If the photo is too bright or washed out, remake the pinhole with a smaller needle for less light entry. Centering a magnifying glass over the lens helps with precise focus adjustment, ensuring clearer images.
Explore Creative Variations and Additional Features
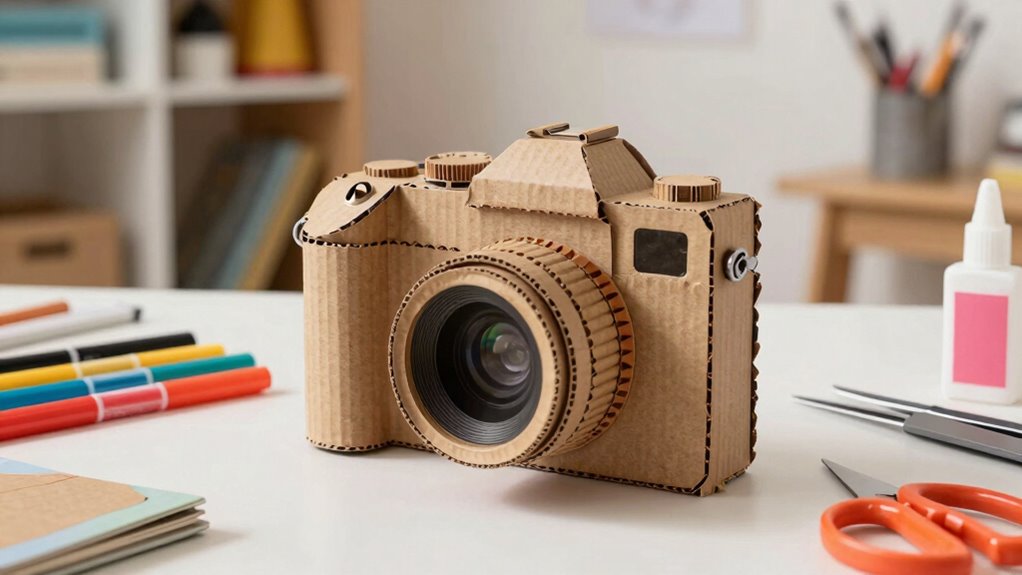
Have fun experimenting with different creative variations to give the cardboard camera a unique personality. Changing the lens assembly variations allows for diverse looks—using two large circles with inner cutouts, four large circles, small circles, or a wavy-patterned large circle—each creates a distinct style. Adding ribbing around the lens’s circumference with scored cardboard strips adds texture, while smoothing the edges of the small lens enhances realism.
Accessories like a cardboard flash tower, built in stepped sizes, can be attached to extend the camera’s vertical profile and add detail. This modular approach encourages personalization, so crafters can mix and match lens layers, ribbing patterns, and accessory attachments to craft a camera that reflects their imagination. These creative variations make each cardboard camera a one-of-a-kind piece.
Tips for Safely Using and Displaying Your Cardboard Camera
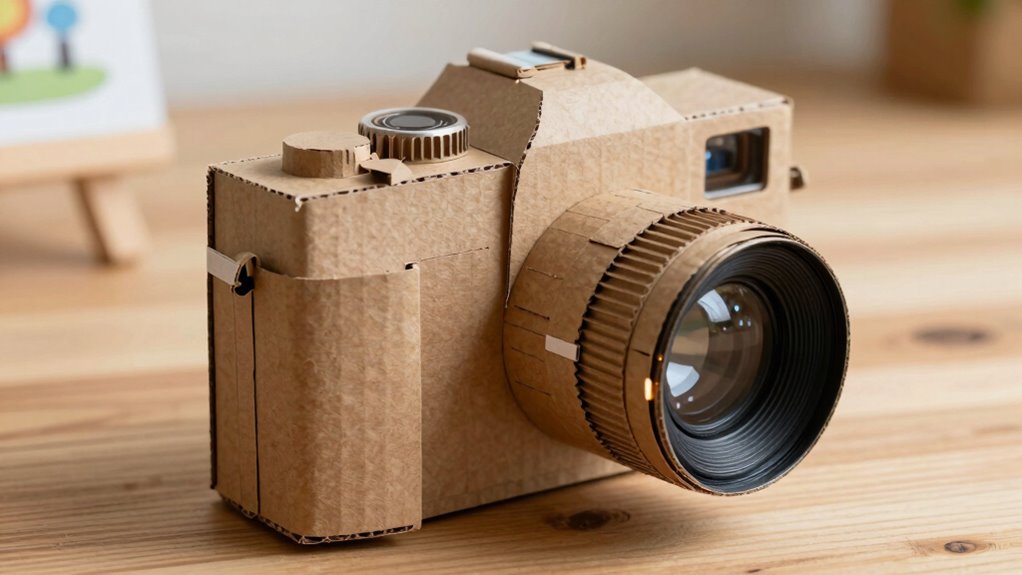
Is it possible to enjoy displaying a cardboard camera without risking damage or mishaps? Absolutely, with some simple tips for cardboard safety and display stability. Using sturdy cardboard and securing seams with tape or glue helps the camera hold its shape during display or handling.
To prevent accidents, adding a lightweight stand or wall hook keeps the camera safely upright without stressing glued joints. Sealing interior edges with black paint or paper minimizes light leaks, which can distort the visual effect or damage the appearance. It’s also wise to keep the camera away from sharp edges and supervise children when using tools like scissors or hot glue.
For an attractive display, include a small label or plaque noting the project details, making your cardboard camera both safe and charming.